
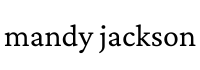
I love a good backsplash! They are a fun place to add a lot of personality to a kitchen, and since ours had nothing going on other than blank, beige walls when we moved in, I knew it was the perfect canvas.

And if my Pinterest board tells me anything, it’s that I really love a bold tile backsplash.
Since we are renters, I was tasked with finding a way to get the bold tile look I love without violating our lease in irreparable ways or sinking a lot of cash into materials that we would only get to enjoy for a couple of years.
After researching what felt like every product available, I decided to stencil our backsplash. There are so many stencils made to look like tiles, and since the only expenses here are a stencil, paint, and stencil brushes, it is a really cheap DIY job. Plus! We can just paint over it when we move out with no damage to the walls. AKA, this is really renter- and budget-friendly.

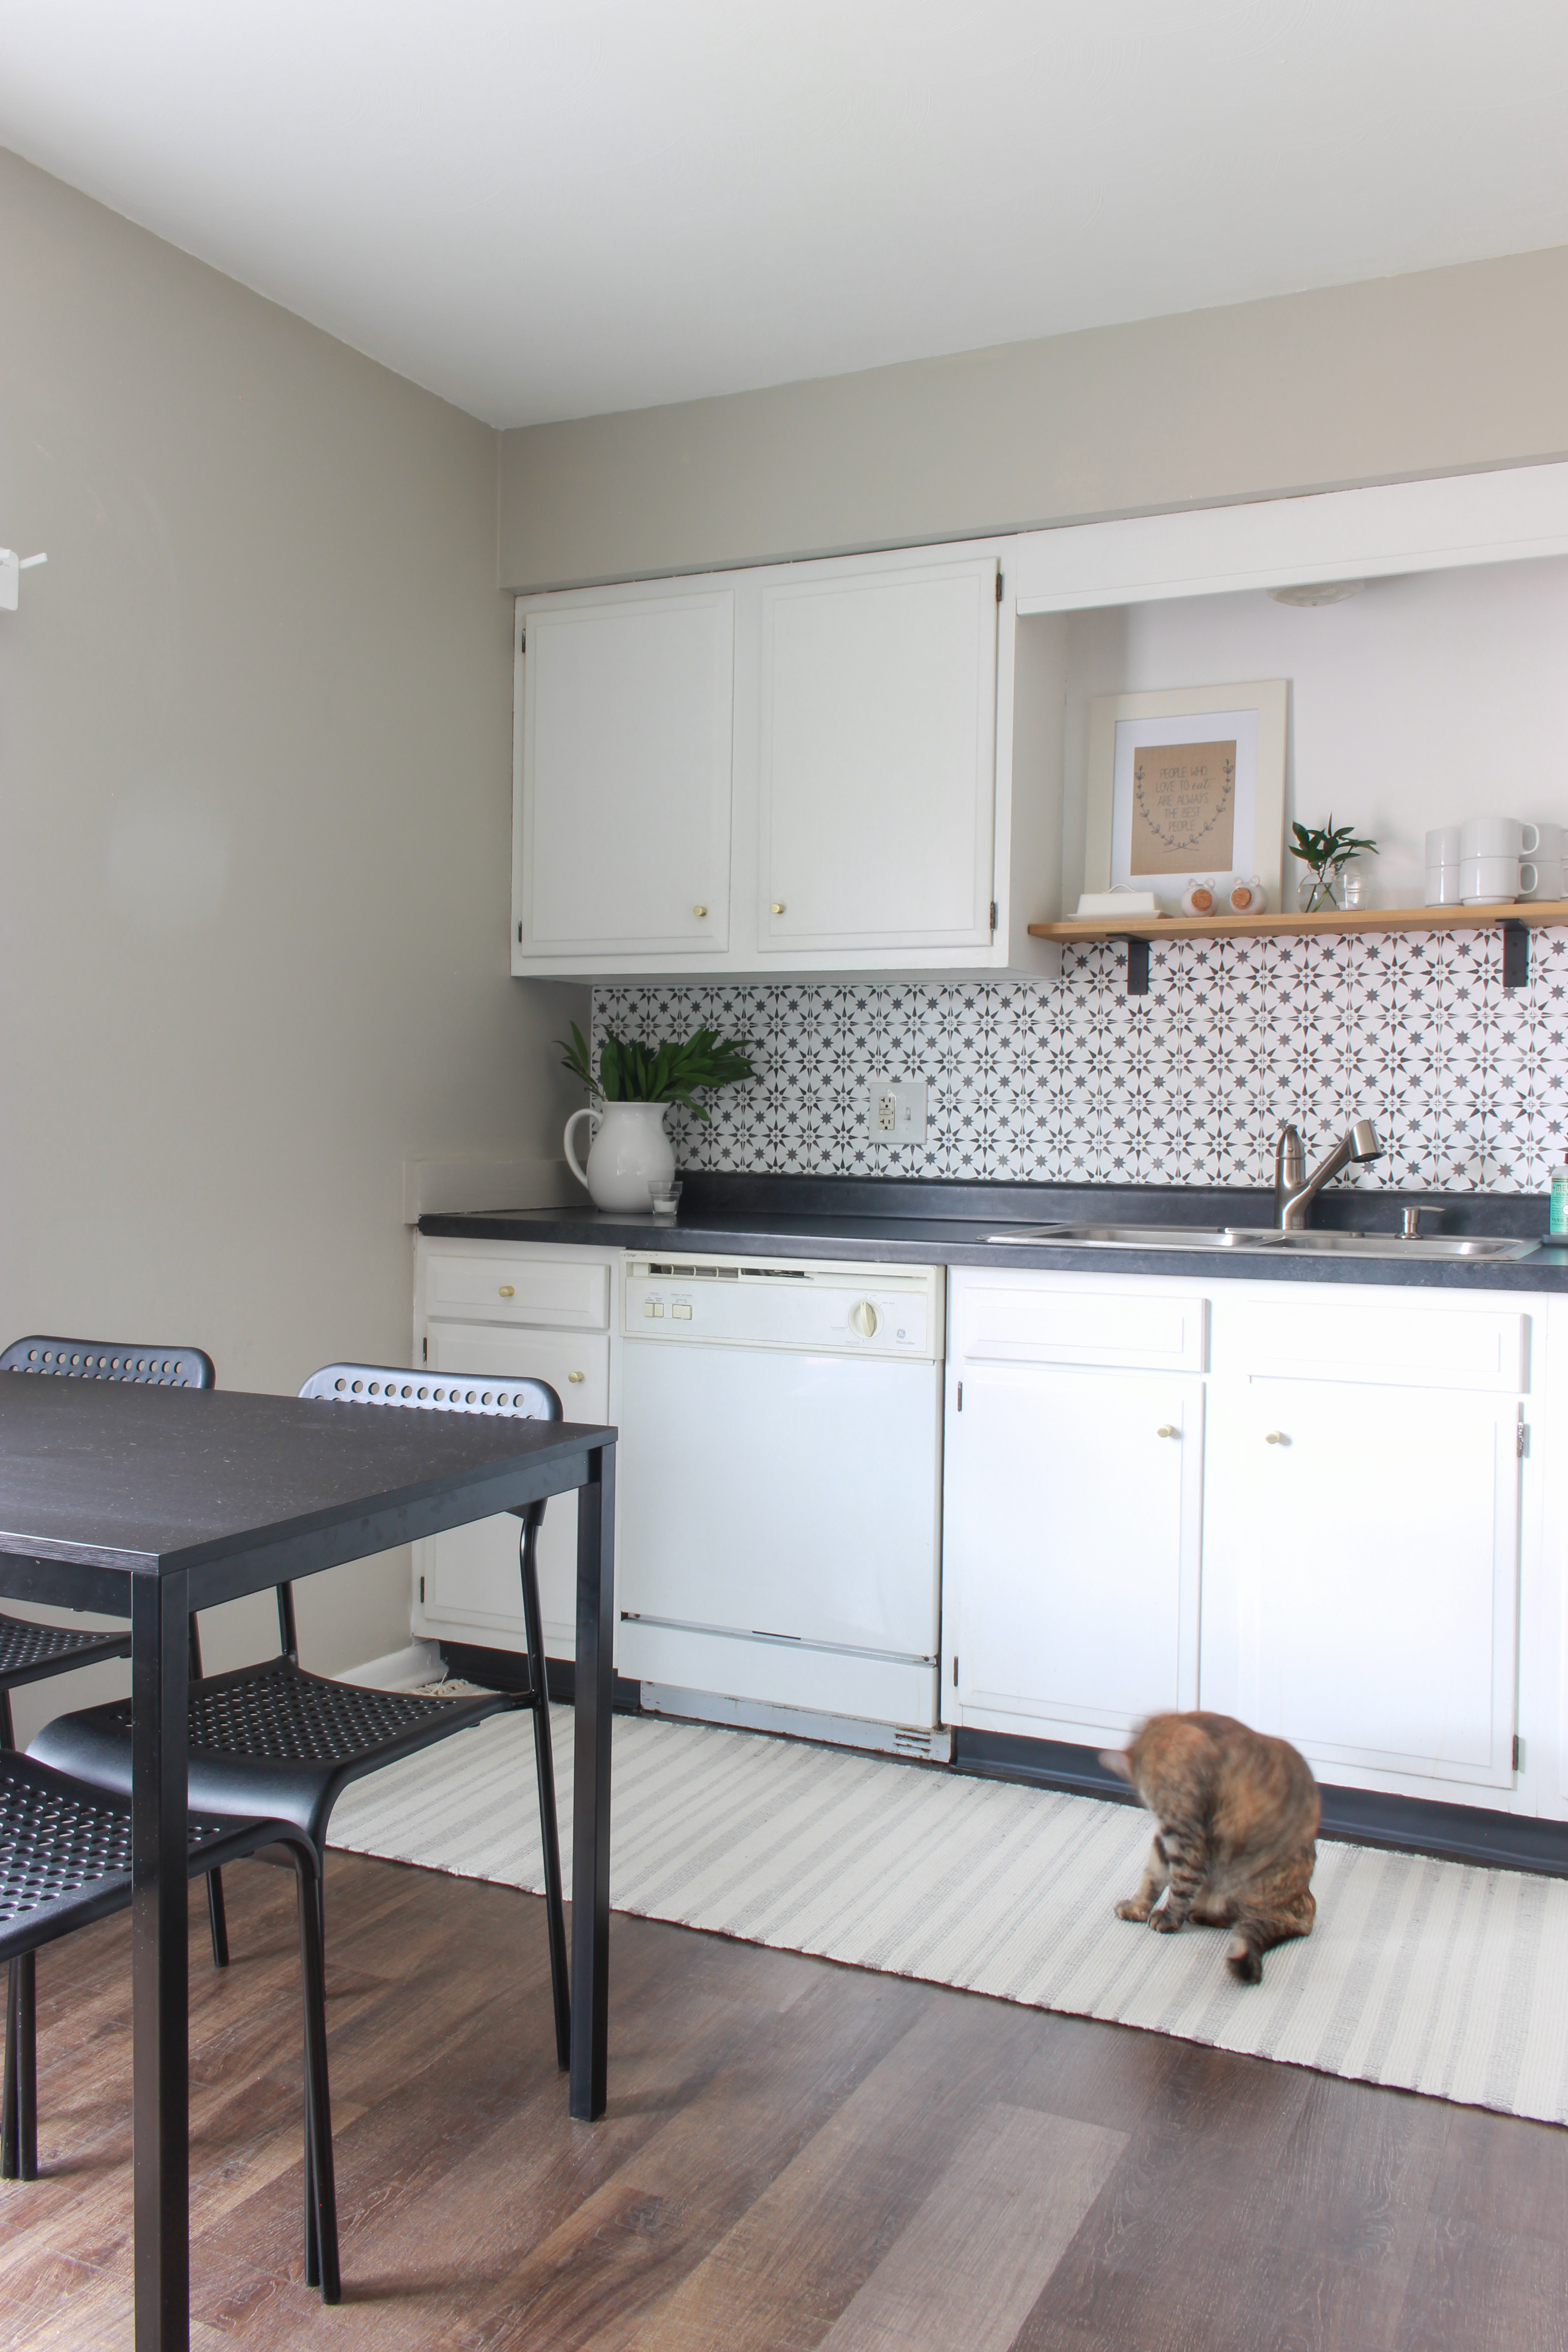
What I learned from this project is that stenciling is addictive! Peeling your stencil off the wall and seeing crisp-lined pattern is so, so satisfying.
Jump to: Instructions
Jump to: Tips + Tricks

Also, stenciling takes F-O-R-E-V-E-R. Each tile you see took about 10 minutes to do, not including clean up. Thankfully, stenciling is pretty mindless so it’s a good opportunity to catch up on Netflixing.

So I don’t scare you out of stenciling, this project could have been knocked out in a weekend if I had had two full days to dedicate to it. I did a few tiles at a time during naps and in the early mornings, so it dragged on longer than it needed to. I also wanted a two-toned tile, which meant I had to use brushes. If you were to use a roller, I suspect it would go much faster!
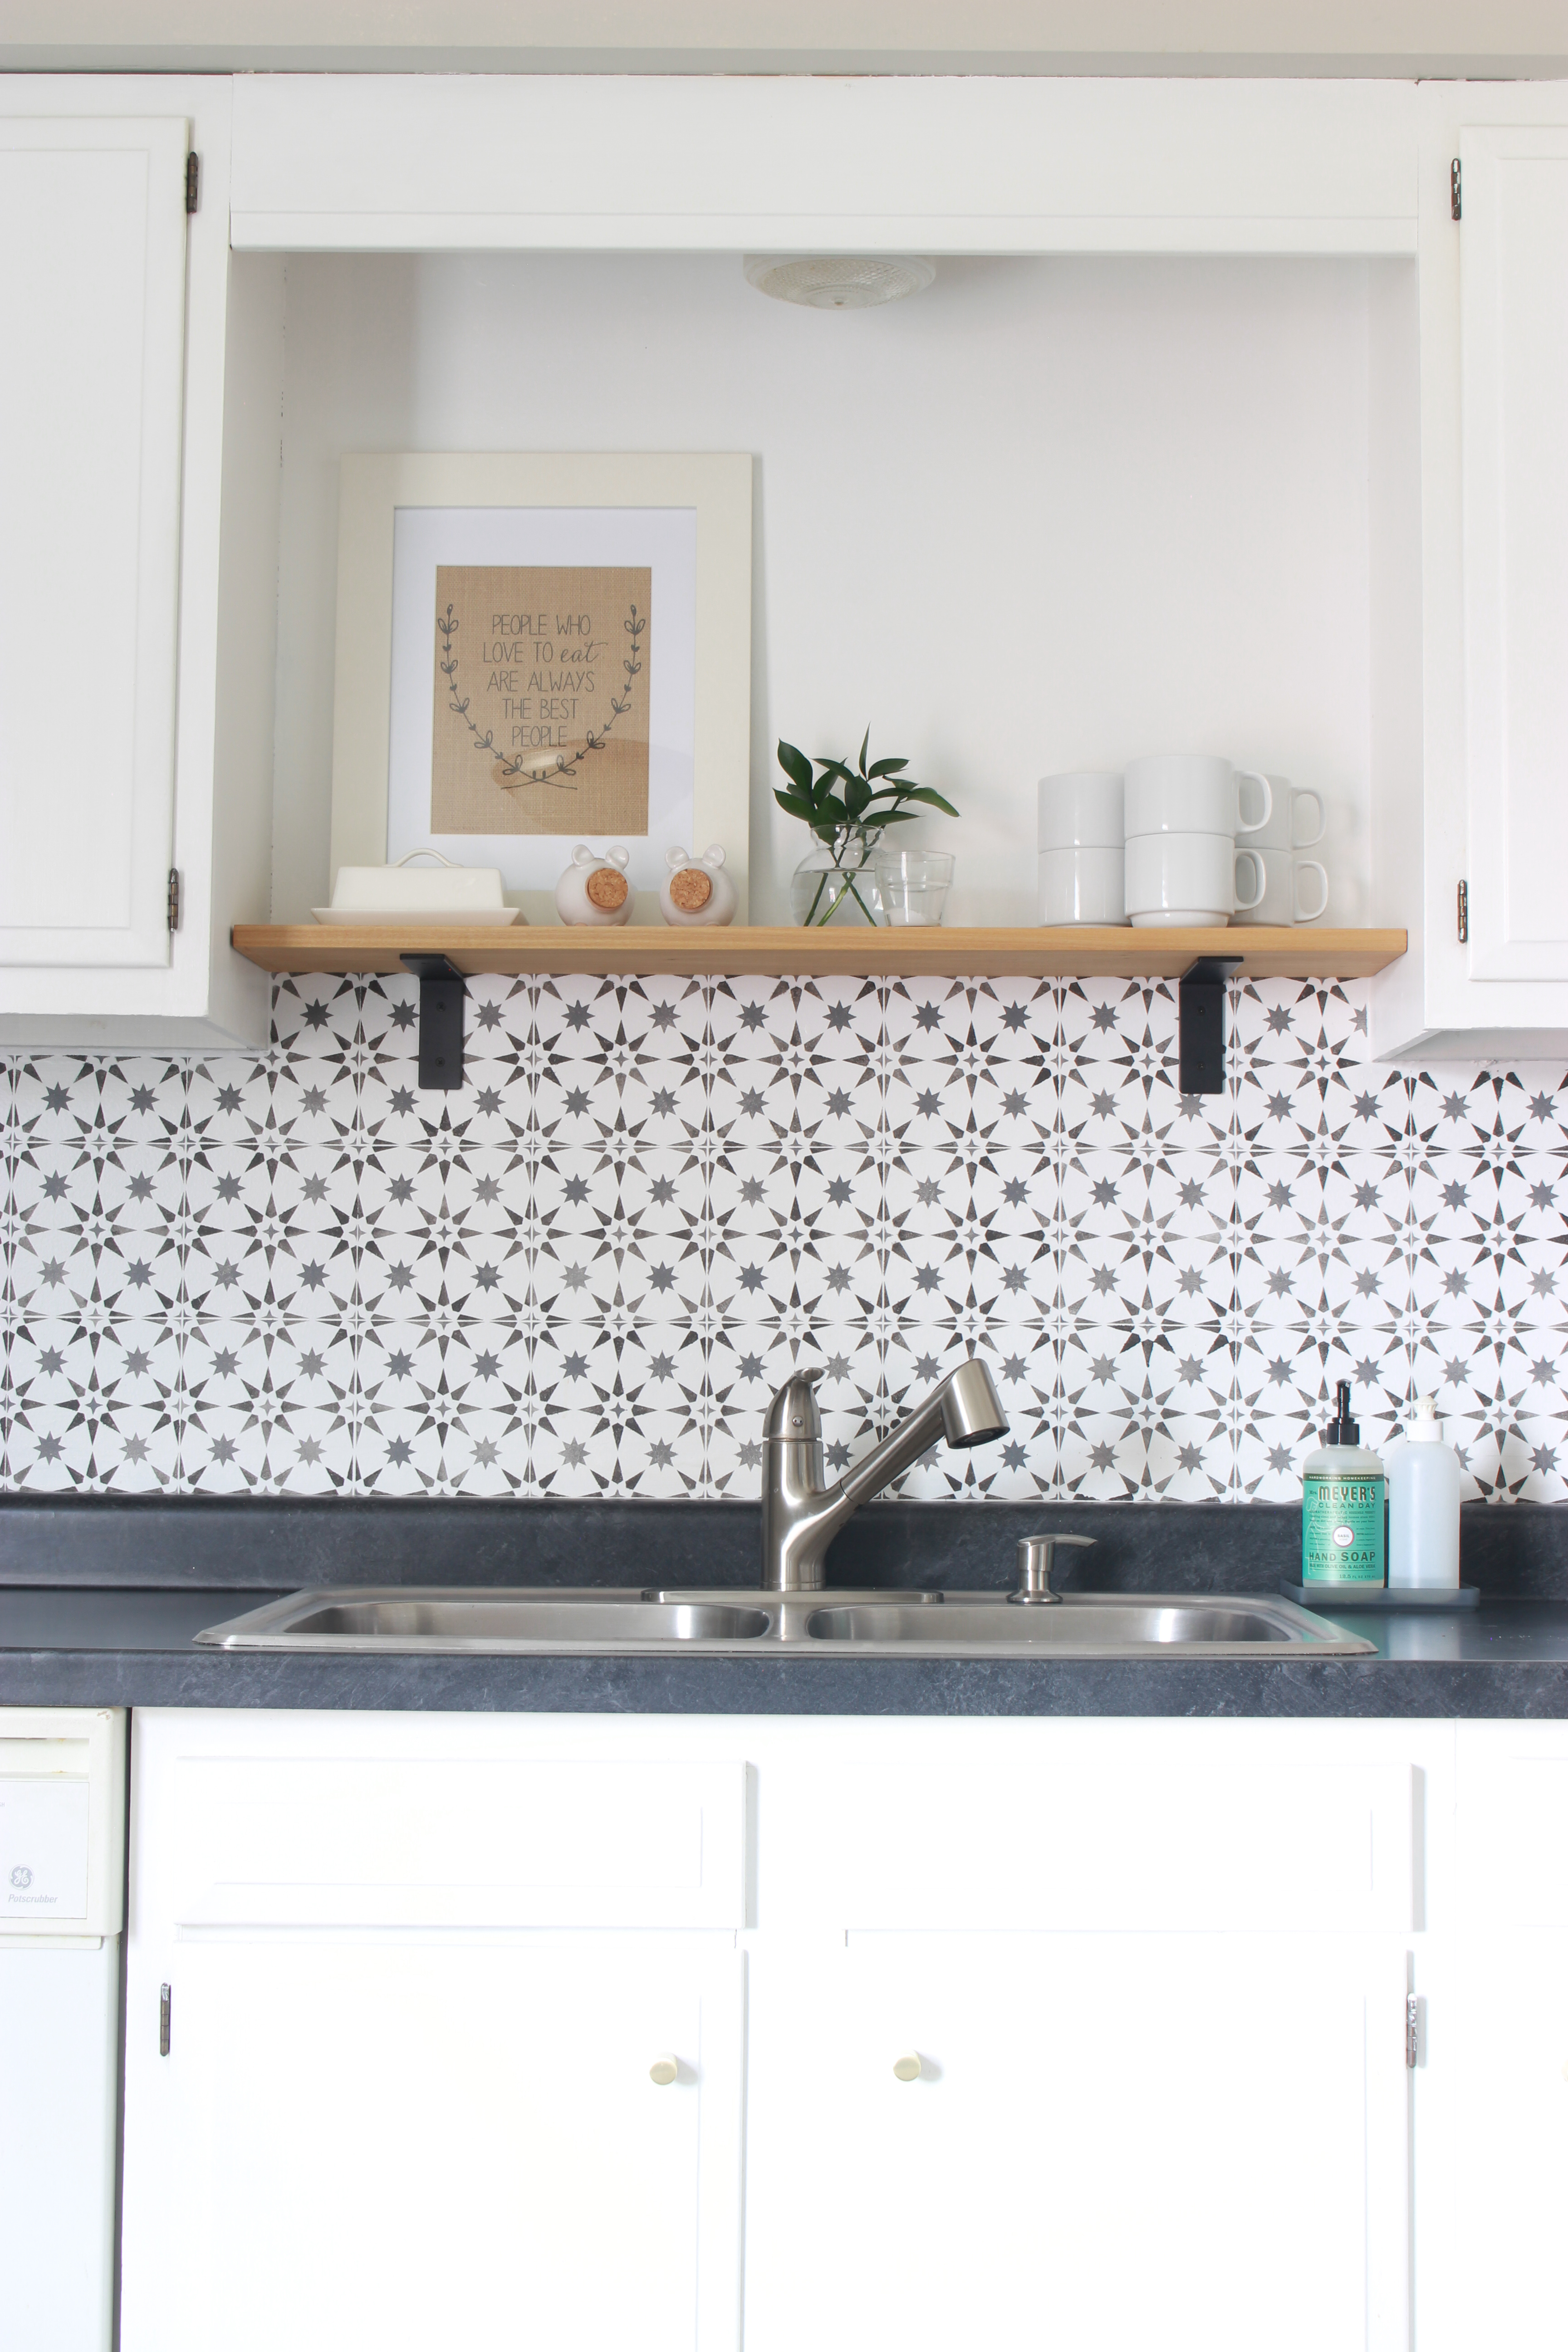
I love how this project turned out. It is maybe my favorite DIY I’ve ever done. I want to hang out in our kitchen all the time now because it is so fun and fresh feeling!
HOW TO STENCIL A BACKSPLASH
Supplies:
- A stencil (I used this one in size small)
- Stencil brushes
- Paint color(s) of choice (I used satin finish interior paint)
- Paper towels
- Painter’s tape
Instructions:
- Prep: Start with a clean, dry wall in whatever color you want the background of your tile to be. I painted my walls white (the same paint we used for the cabinets) because I love a black and white tile.
- Line up your stencil: This is easiest if you use a pre-existing marker. I started each section using the countertop edge and eyeballed it to make sure the stencil was straight all the way across. You can use a level here for confirmation. Most stencils have some overlap with the next tile, so lining everything up will get easier as you go.
- Secure the stencil with tape: Use painter’s tape to secure the stencil to the wall. I used longer pieces on two sides of my stencil and kept them there until they weren’t sticky anymore. Only using two pieces proved to be optimal as it gives you lots of flexibility (nice if you’re stenciling over an outlet or in a corner), makes removal very easy, and ensures your stencil isn’t bunching up.
- Prep your brush: When you’re ready to stencil, dip your stencil brush in the paint just enough to sparsely cover the ends of the bristles. Blot excess off on a paper towel. I think the easiest error to make when stenciling is having too much paint on your brush.
- Stipple: To apply paint to the wall, dab the brush on the stencil until all desired areas are covered, getting more paint and blotting with a paper towel as needed. The key to a successful stencil is stippling. Don’t use regular brushstrokes!
- Rinse and repeat: I washed my stencil with hot water and a sponge probably every 5-6 tiles to prevent too much paint build up. Aside from the occasional break to clean, repeat steps 2-5 until your entire area is stenciled!

TIPS + TRICKS FOR A GOOD DIY STENCIL JOB
Use painter’s tape to tape off any wall or surface you’re not stenciling. You can’t make crisp borders with a stencil brush, so painter’s tape is important! For this project, I taped all along the top of the countertops, the bottoms of the cabinets, and the corner of any wall I wasn’t stenciling right then.
Don’t be afraid to trim your stencil down. Bending a stencil into corners is hard! Once you’ve done all the whole tiles, I recommend cutting your tile down. It is so much easier than trying to fold it, and the end result will look much cleaner and more precise. Just be sure to measure carefully and work your way from the biggest to smallest cuts!
Crisp lines. Crisp lines are - I think - what really makes a stencil job look like tile. If you are not getting crisp lines when you remove your stencil, it could be because:
- your brush has too much paint on it. There’s definitely a learning curve to getting the right amount of paint, and it’s easy to go overboard. You really just need a hint of paint on your brush. And don’t forget to blot it out!
- your stencil has too much paint on it. Edges will blur if your stencil has too much of a paint coating on it. Clean your stencil if this starts to happen.
- your brushes need to be replaced. All that dab-dab-dabbing takes a toll on brushes. Once the bristles won’t stand straight, or your lines are getting blurred, it’s probably time to get fresh brushes.
Don’t stencil anything that will never be seen. I started this project by stenciling a row of tiles behind our stove. It took a total of 5 tiles, an hour of work, and they are now completely covered by the stove. If I were to do it again, I would start with the visible areas, and save any hidden areas to do at the very end, if I still wanted to.

Enlist help: I didn’t do this, but really wish I had. Buy two stencils and get a helper. It will go twice as fast, and stenciling with a friend is probably twice as fun!

Angela Newell says
How can i peirce my stencil behind a cook top? From grease and make it easier to clean?
Mandy Jackson says
Paints with some sheen are easiest to wipe down - go with a satin or gloss finish and steer clear of matte/eggshell.
lauren says
Just found this and it’s exactly what I am looking to do!! Do you remember what paint color you used?
Thank you!!
Mandy Jackson says
Hi Lauren! For some reason your comment got flagged as spam -- sorry about that!
The white is Behr Ultra Pure White and the black is Glidden Onyx. Have fun stenciling 🙂