

I'm just going to warn you that this post will appeal to approximately 3% of regular readers, but is also a post I wish I had been able to find on the internet a month ago.
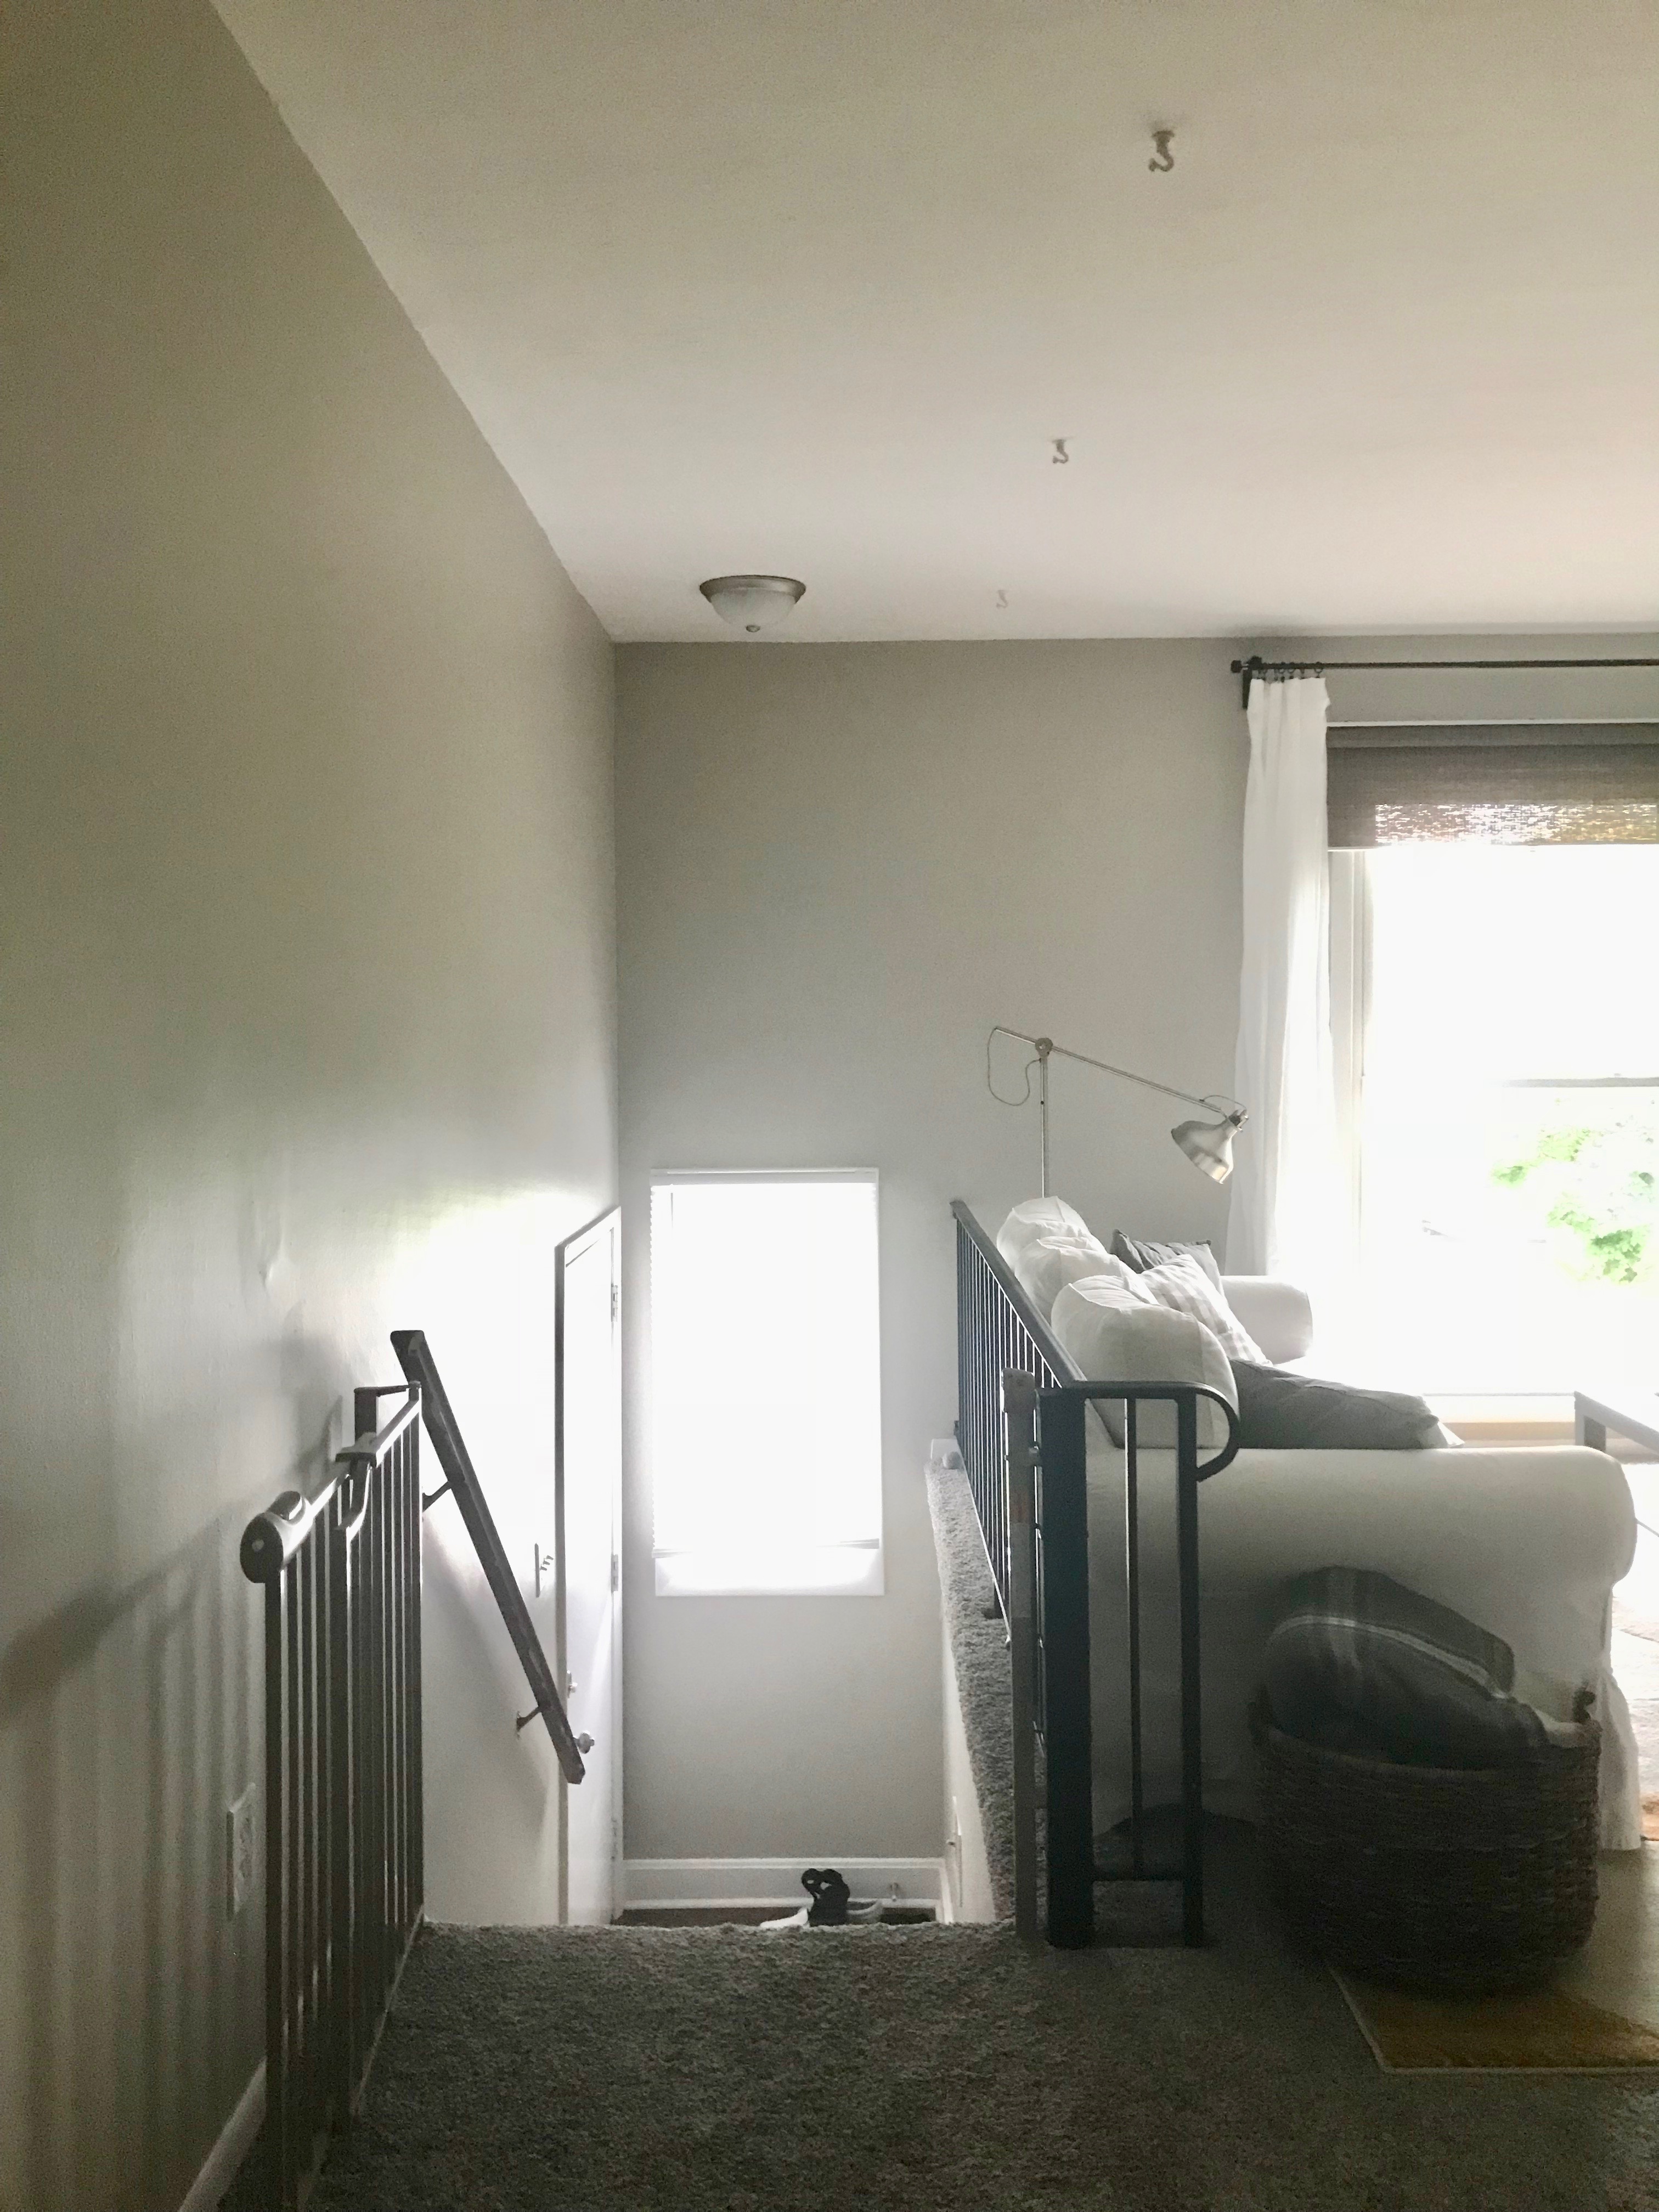
BABY GATES. They're not pretty. They're not a fun baby purchase. They weren't covered in our childbirth class, so we were in uncharted territory. We moved into The Duplex with a newly mobile baby and two unguarded stair cases from the main room of the house.
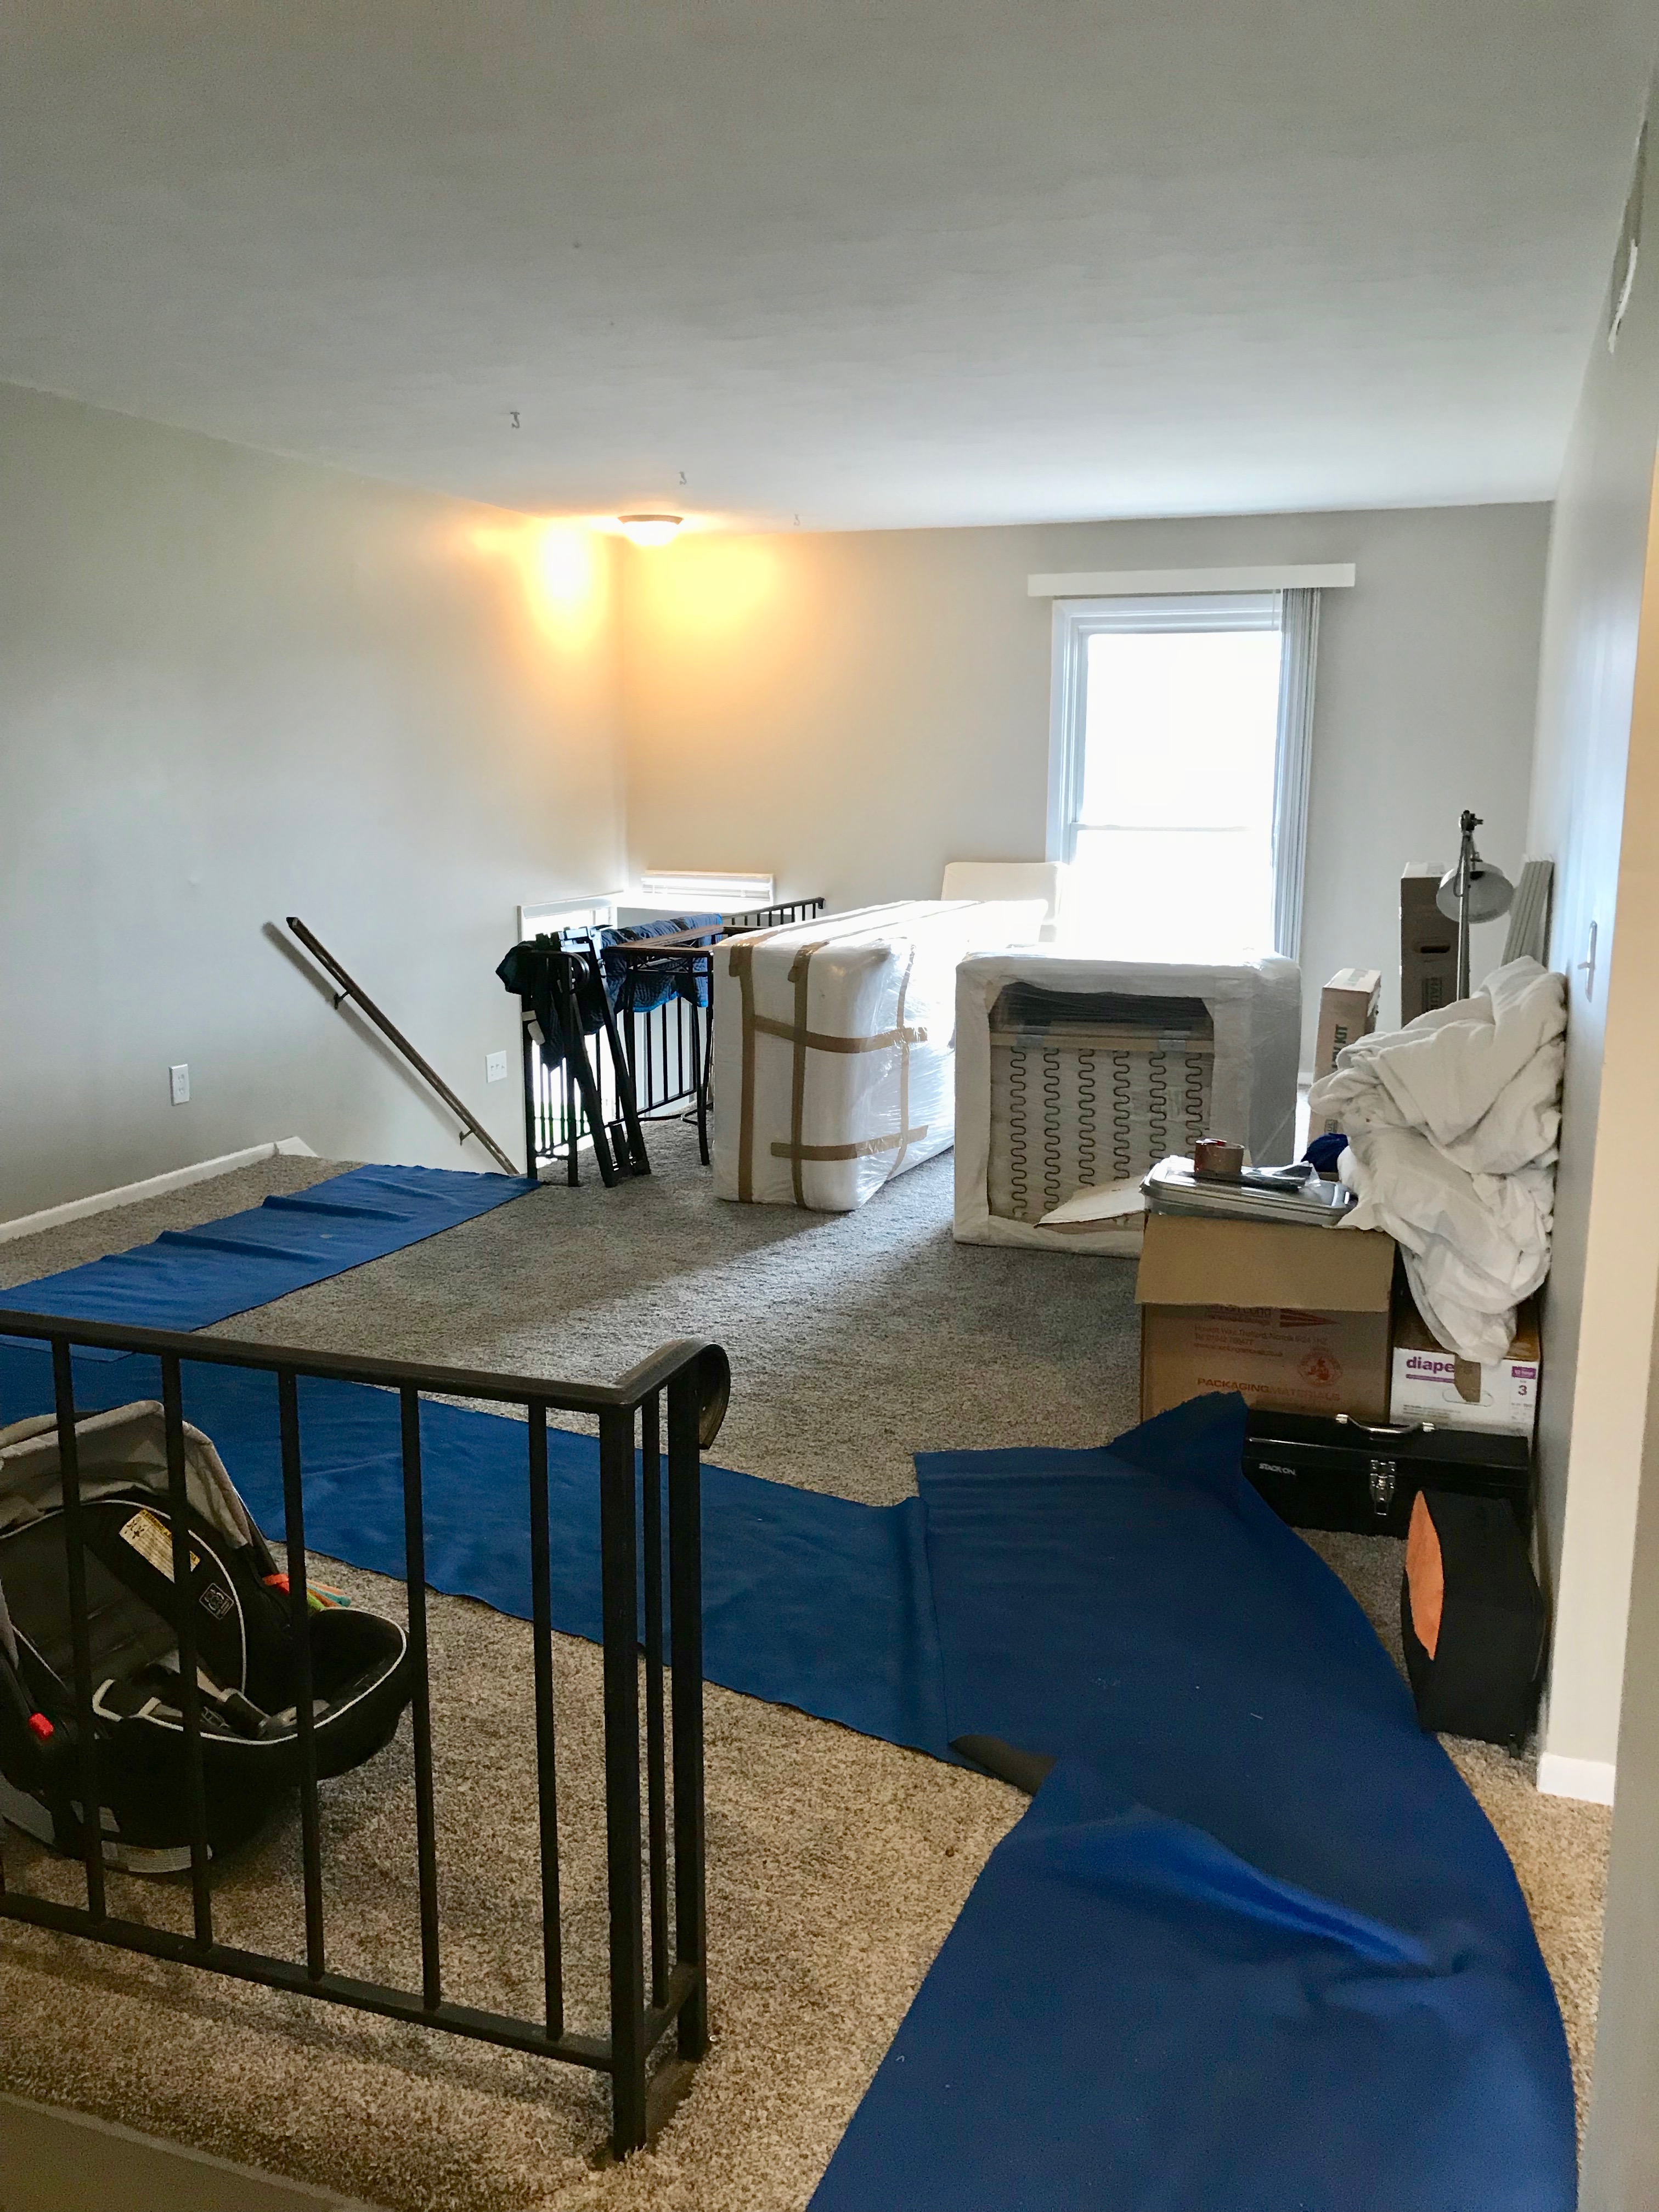
I should tell you that I really like these staircases. I like that this feels like a split level and I think the metal railings make the whole room seem a lot more open and will down the road be fun to decorate around.
But I was forgetting all about my affinity for the stairs as Baby J beelined for them every chance he got, and I broke out my turbo speed mama bear sprint to rescue him from imminent stair demise.
So I ordered these baby gates on amazon prime. They showed up two days later. Then they sat, uninstalled, in our living room for three weeks. We had zero idea how to install them.
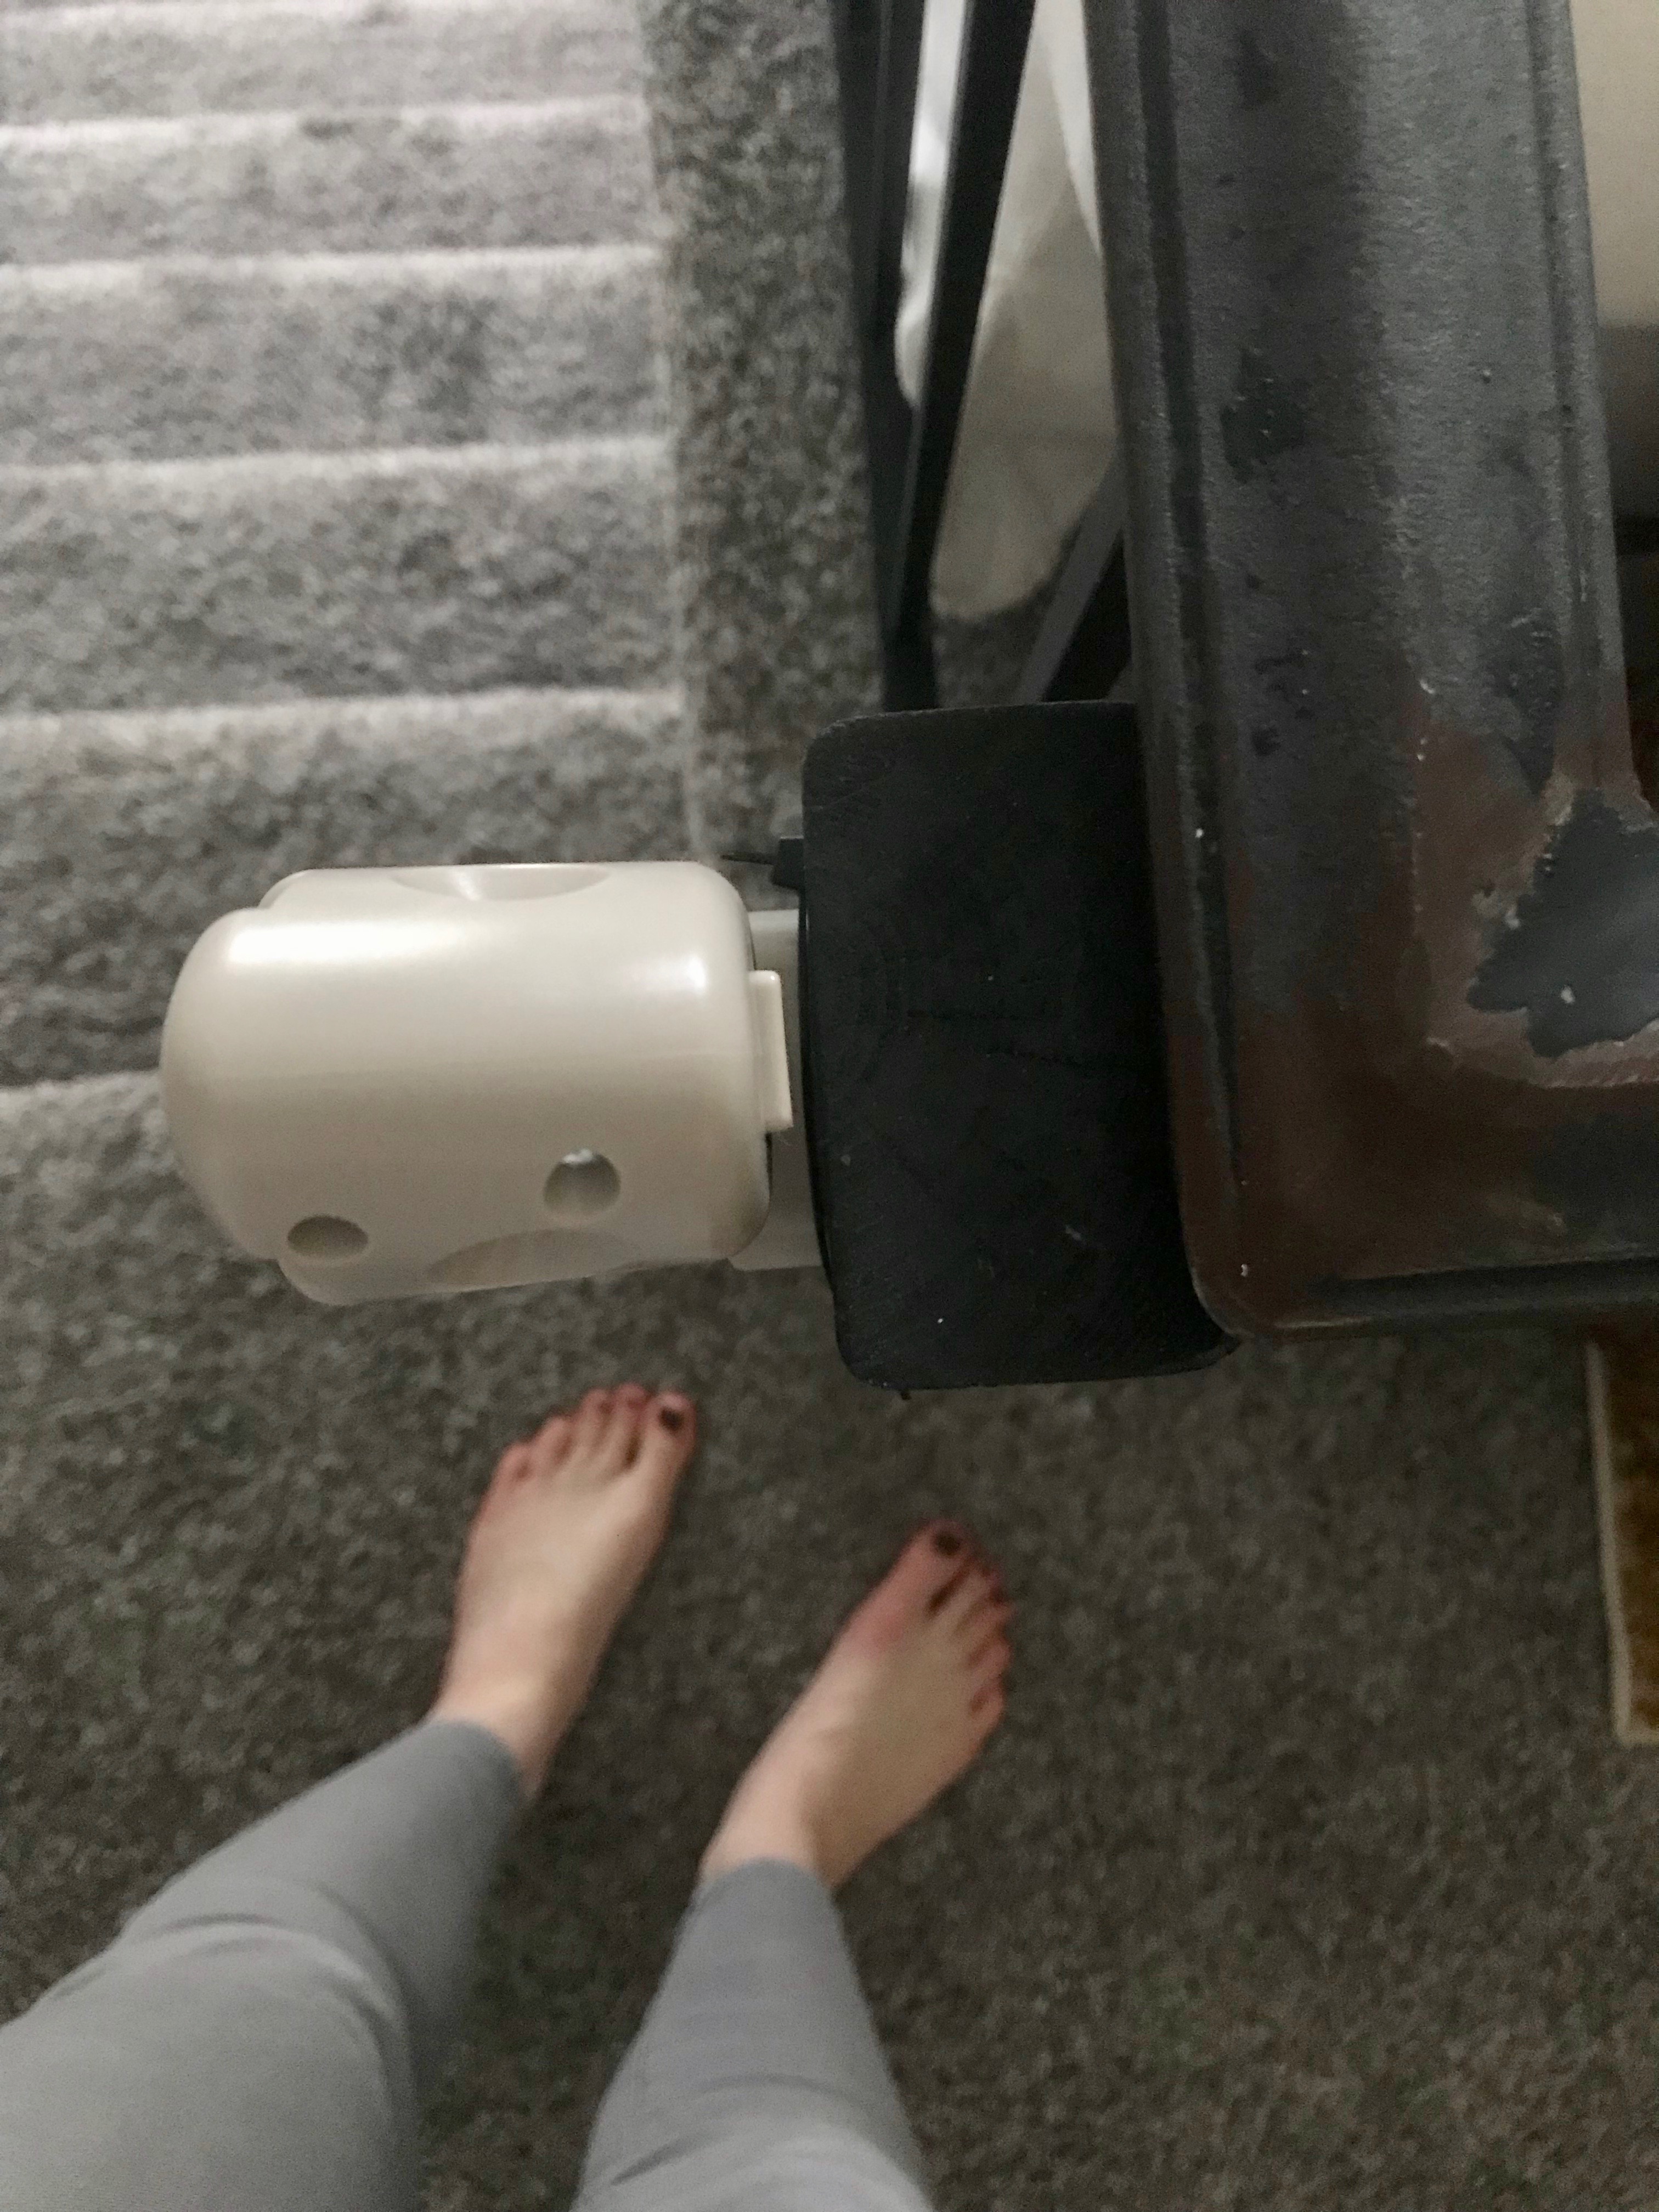
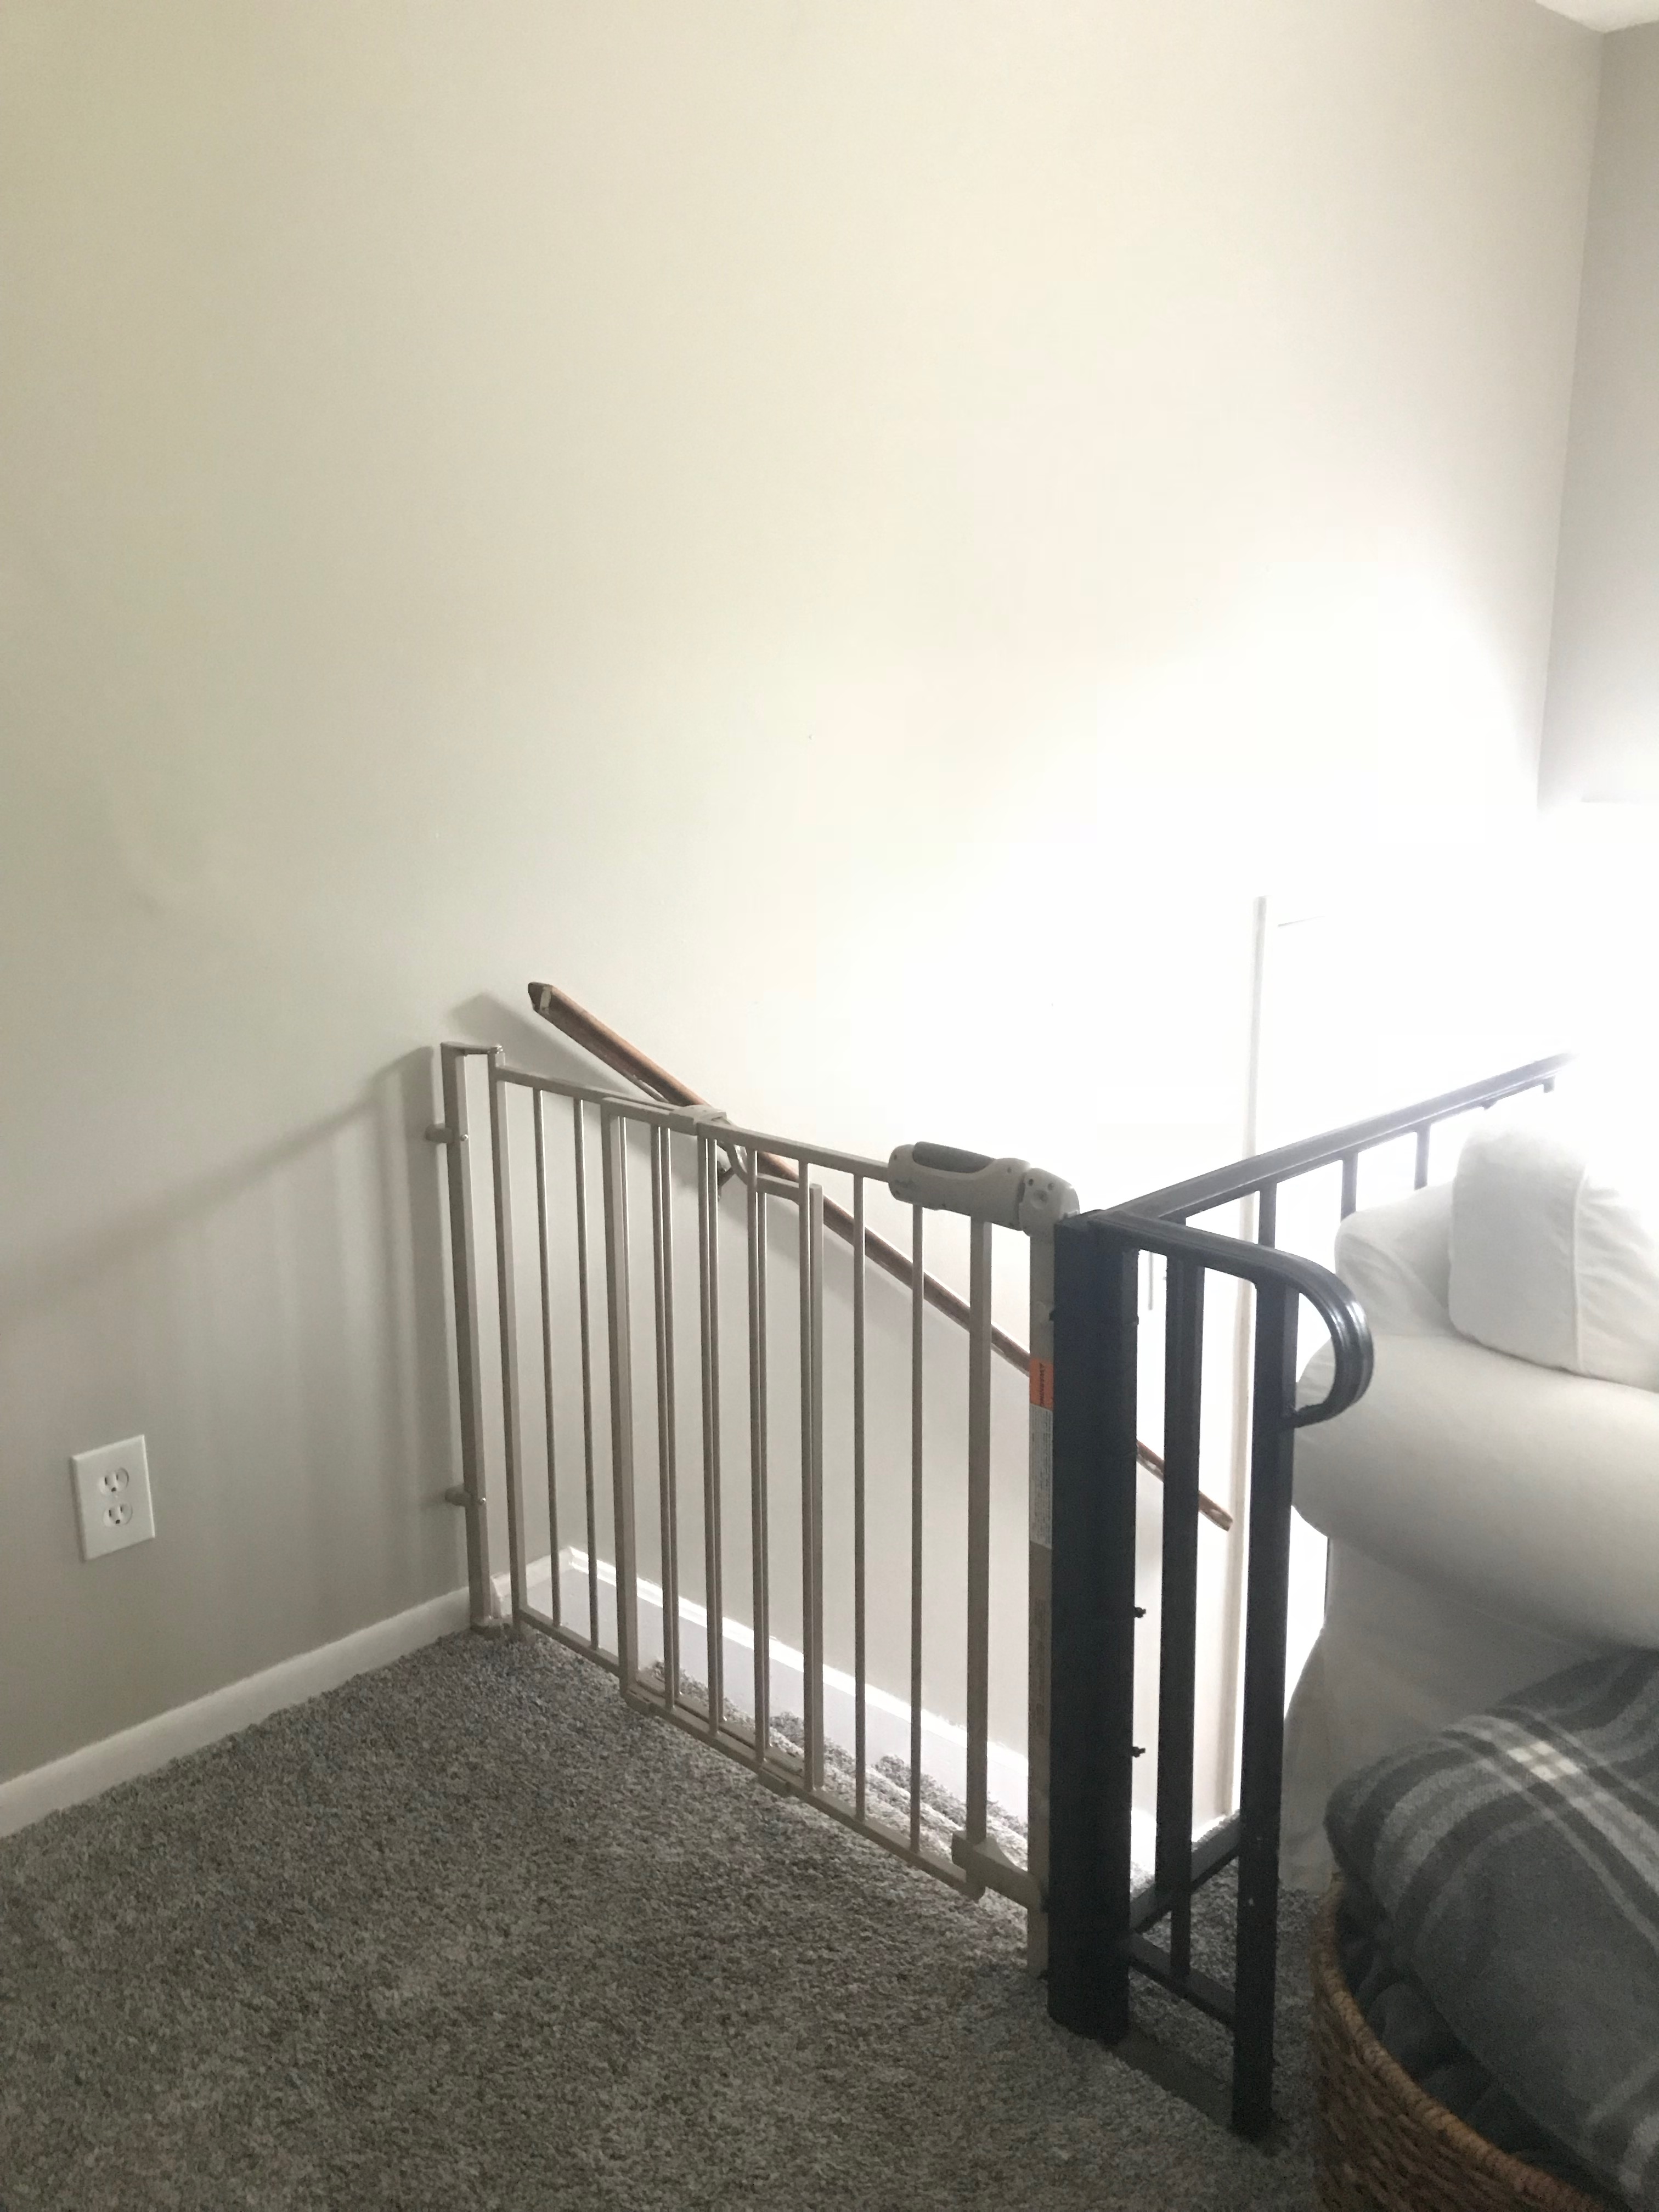
Top of stair baby gates need to be hardware mounted to the wall, rather than held up by tension. Since there's a metal railing on one side of both staircases that we were unable/unwilling to drill into, we had to do some creative problem solving to get the baby gates safely installed.
Here's how we did it. It was easy, cheap, and not too much of an eyesore.
For each railing you will need:
- A baby gate
- A piece of wood
- Sandpaper
- Spray paint the color of your railing (optional)
- Zip ties
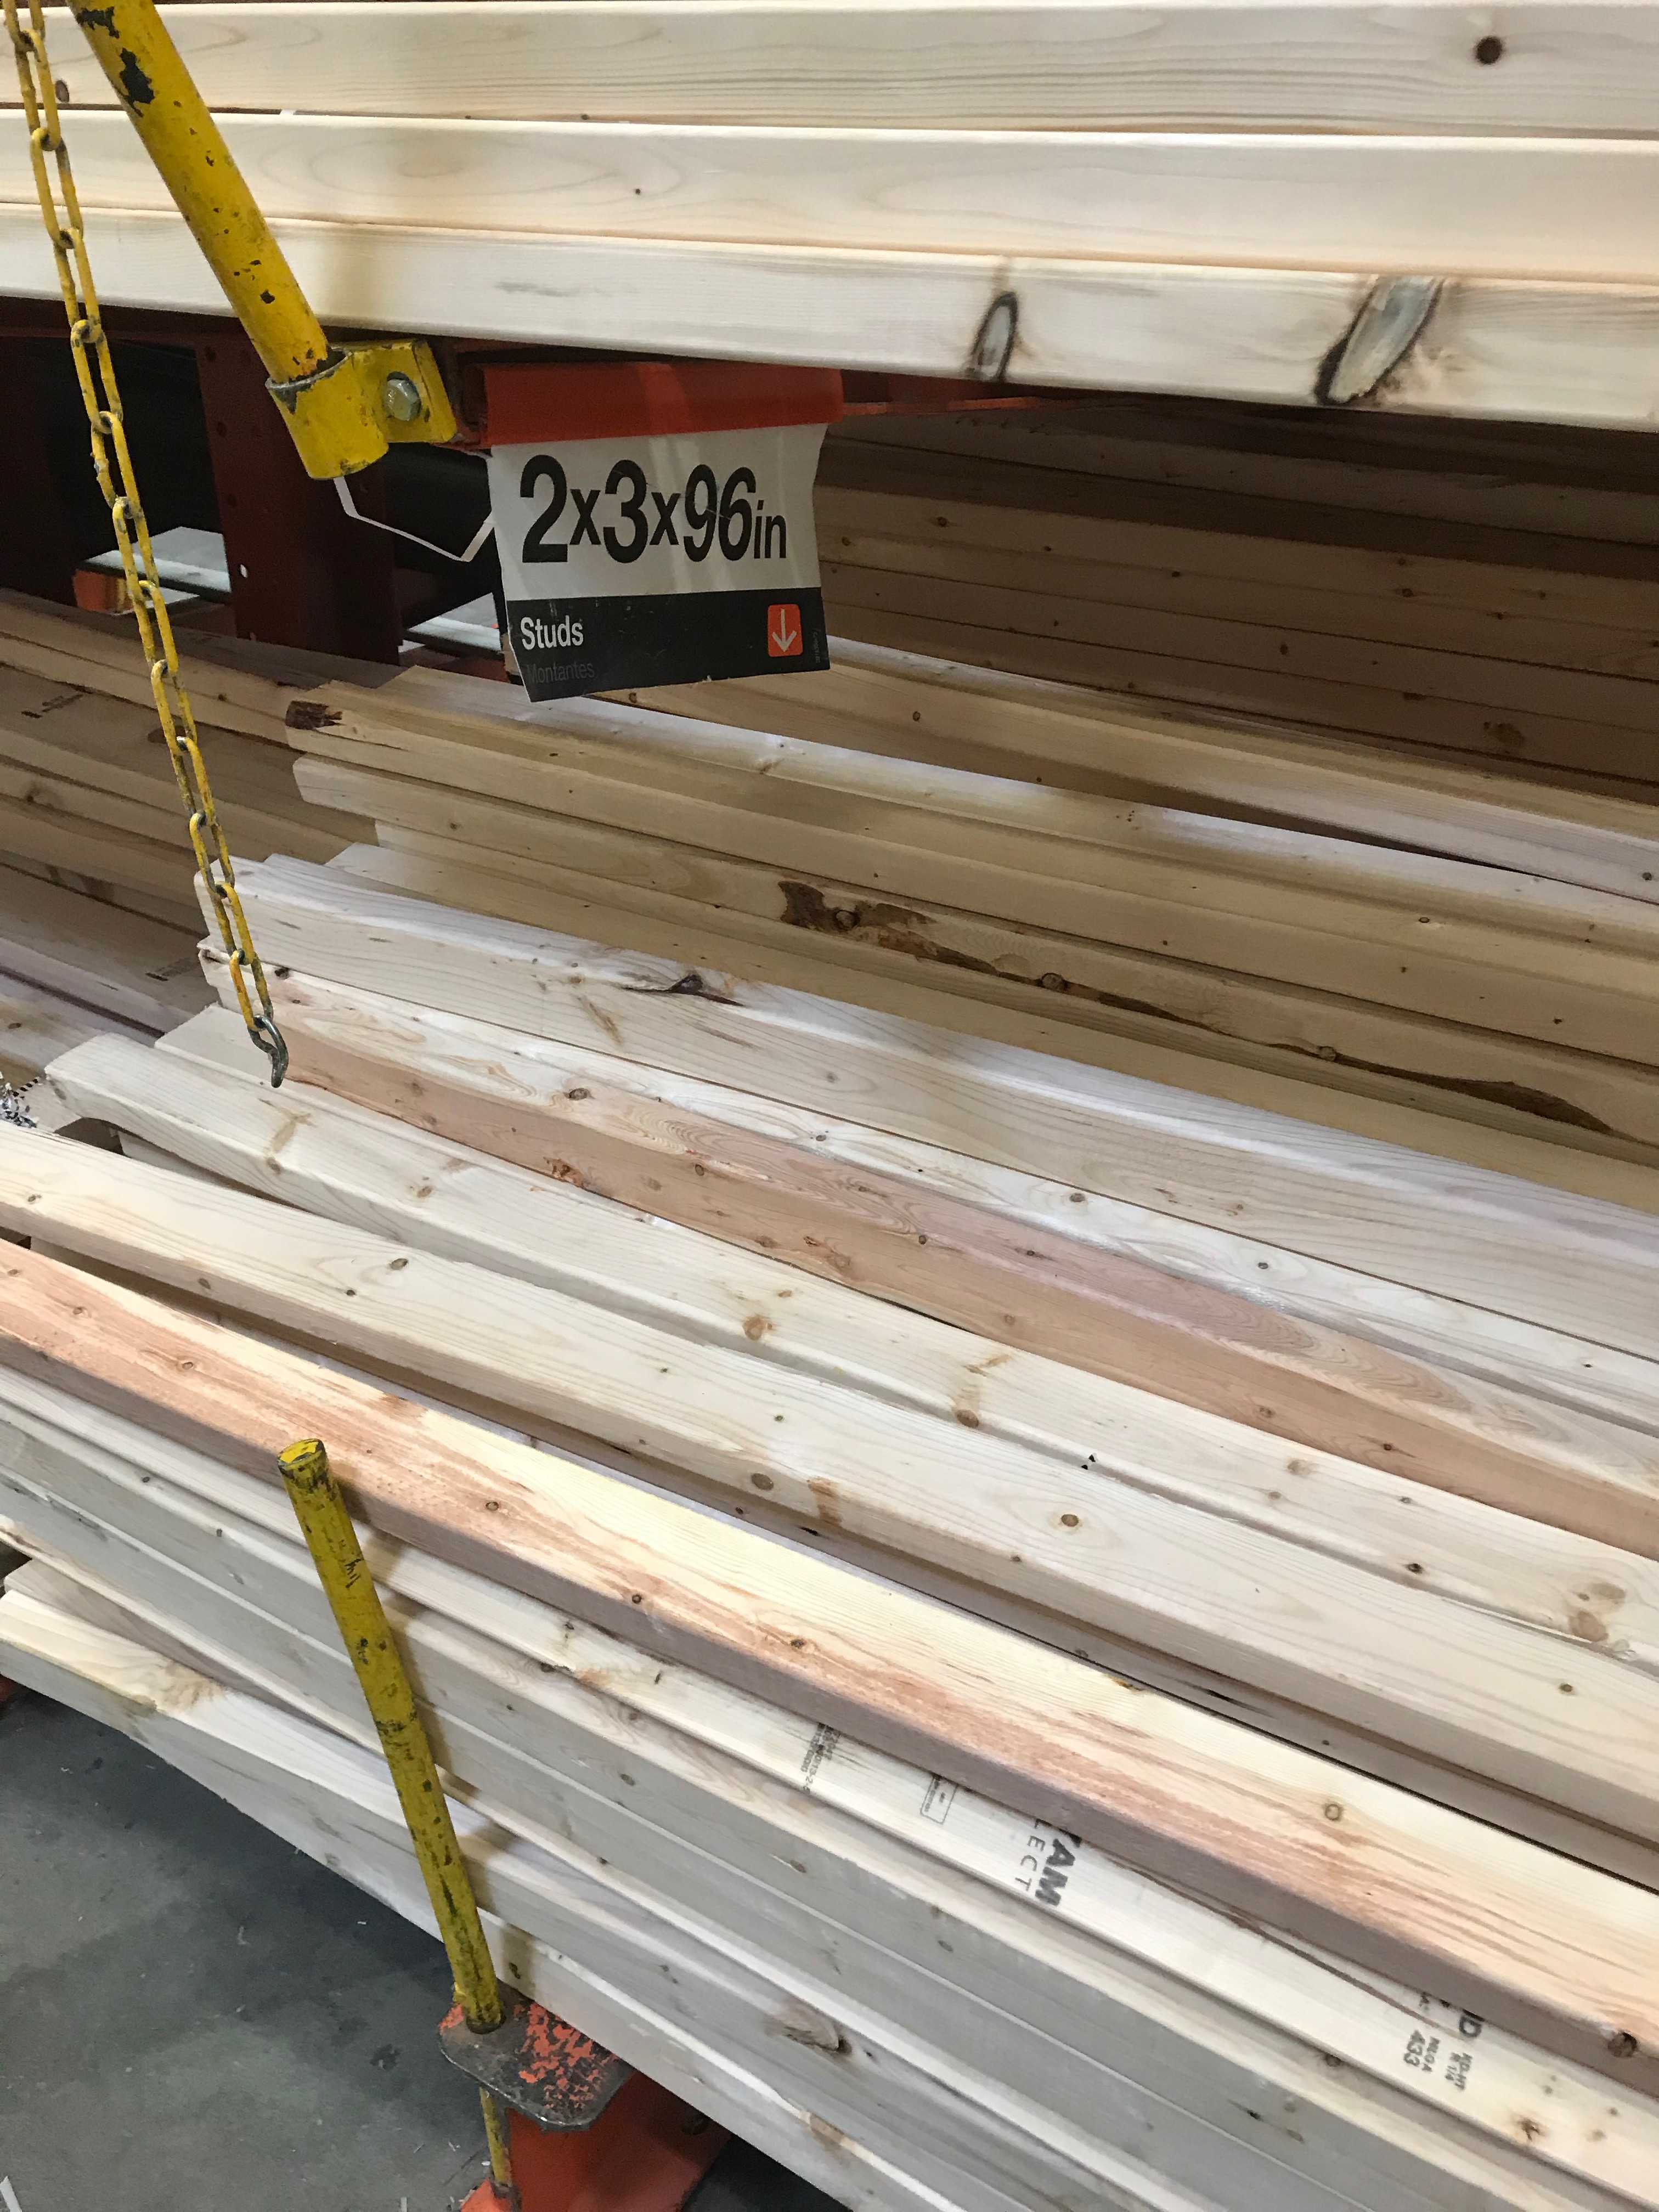
First, you'll want to measure a few things to see what size wood you need. The wood needs to be tall enough to rest on the floor and extend past the tallest installation point on the gate. I wanted the top of ours to rest under the handrail so it would look as unobtrusive as possible. Width-wise, the wood needs to be at least as wide as the mounting piece of the gate, and it also needs to be deep enough for whatever screw you're using. For our railings, I got two 30.5-inch cuts from a 2x3-inch stud.
Once you have your measurements, go get your wood. AS AN FYI: Home Depot will make cuts for you, for free! Pro-tip: if you're able, it's best to go to Home Depot early in the morning on a weekday. No one is there except contractors who know what they're doing, so you will have dozens of employees ready to assist you with finding and cutting what you need!
Sand your wood down until it's nice and smooth to avoid your house becoming Splinter City. Then give it a few coats of spray paint so it matches your railing.
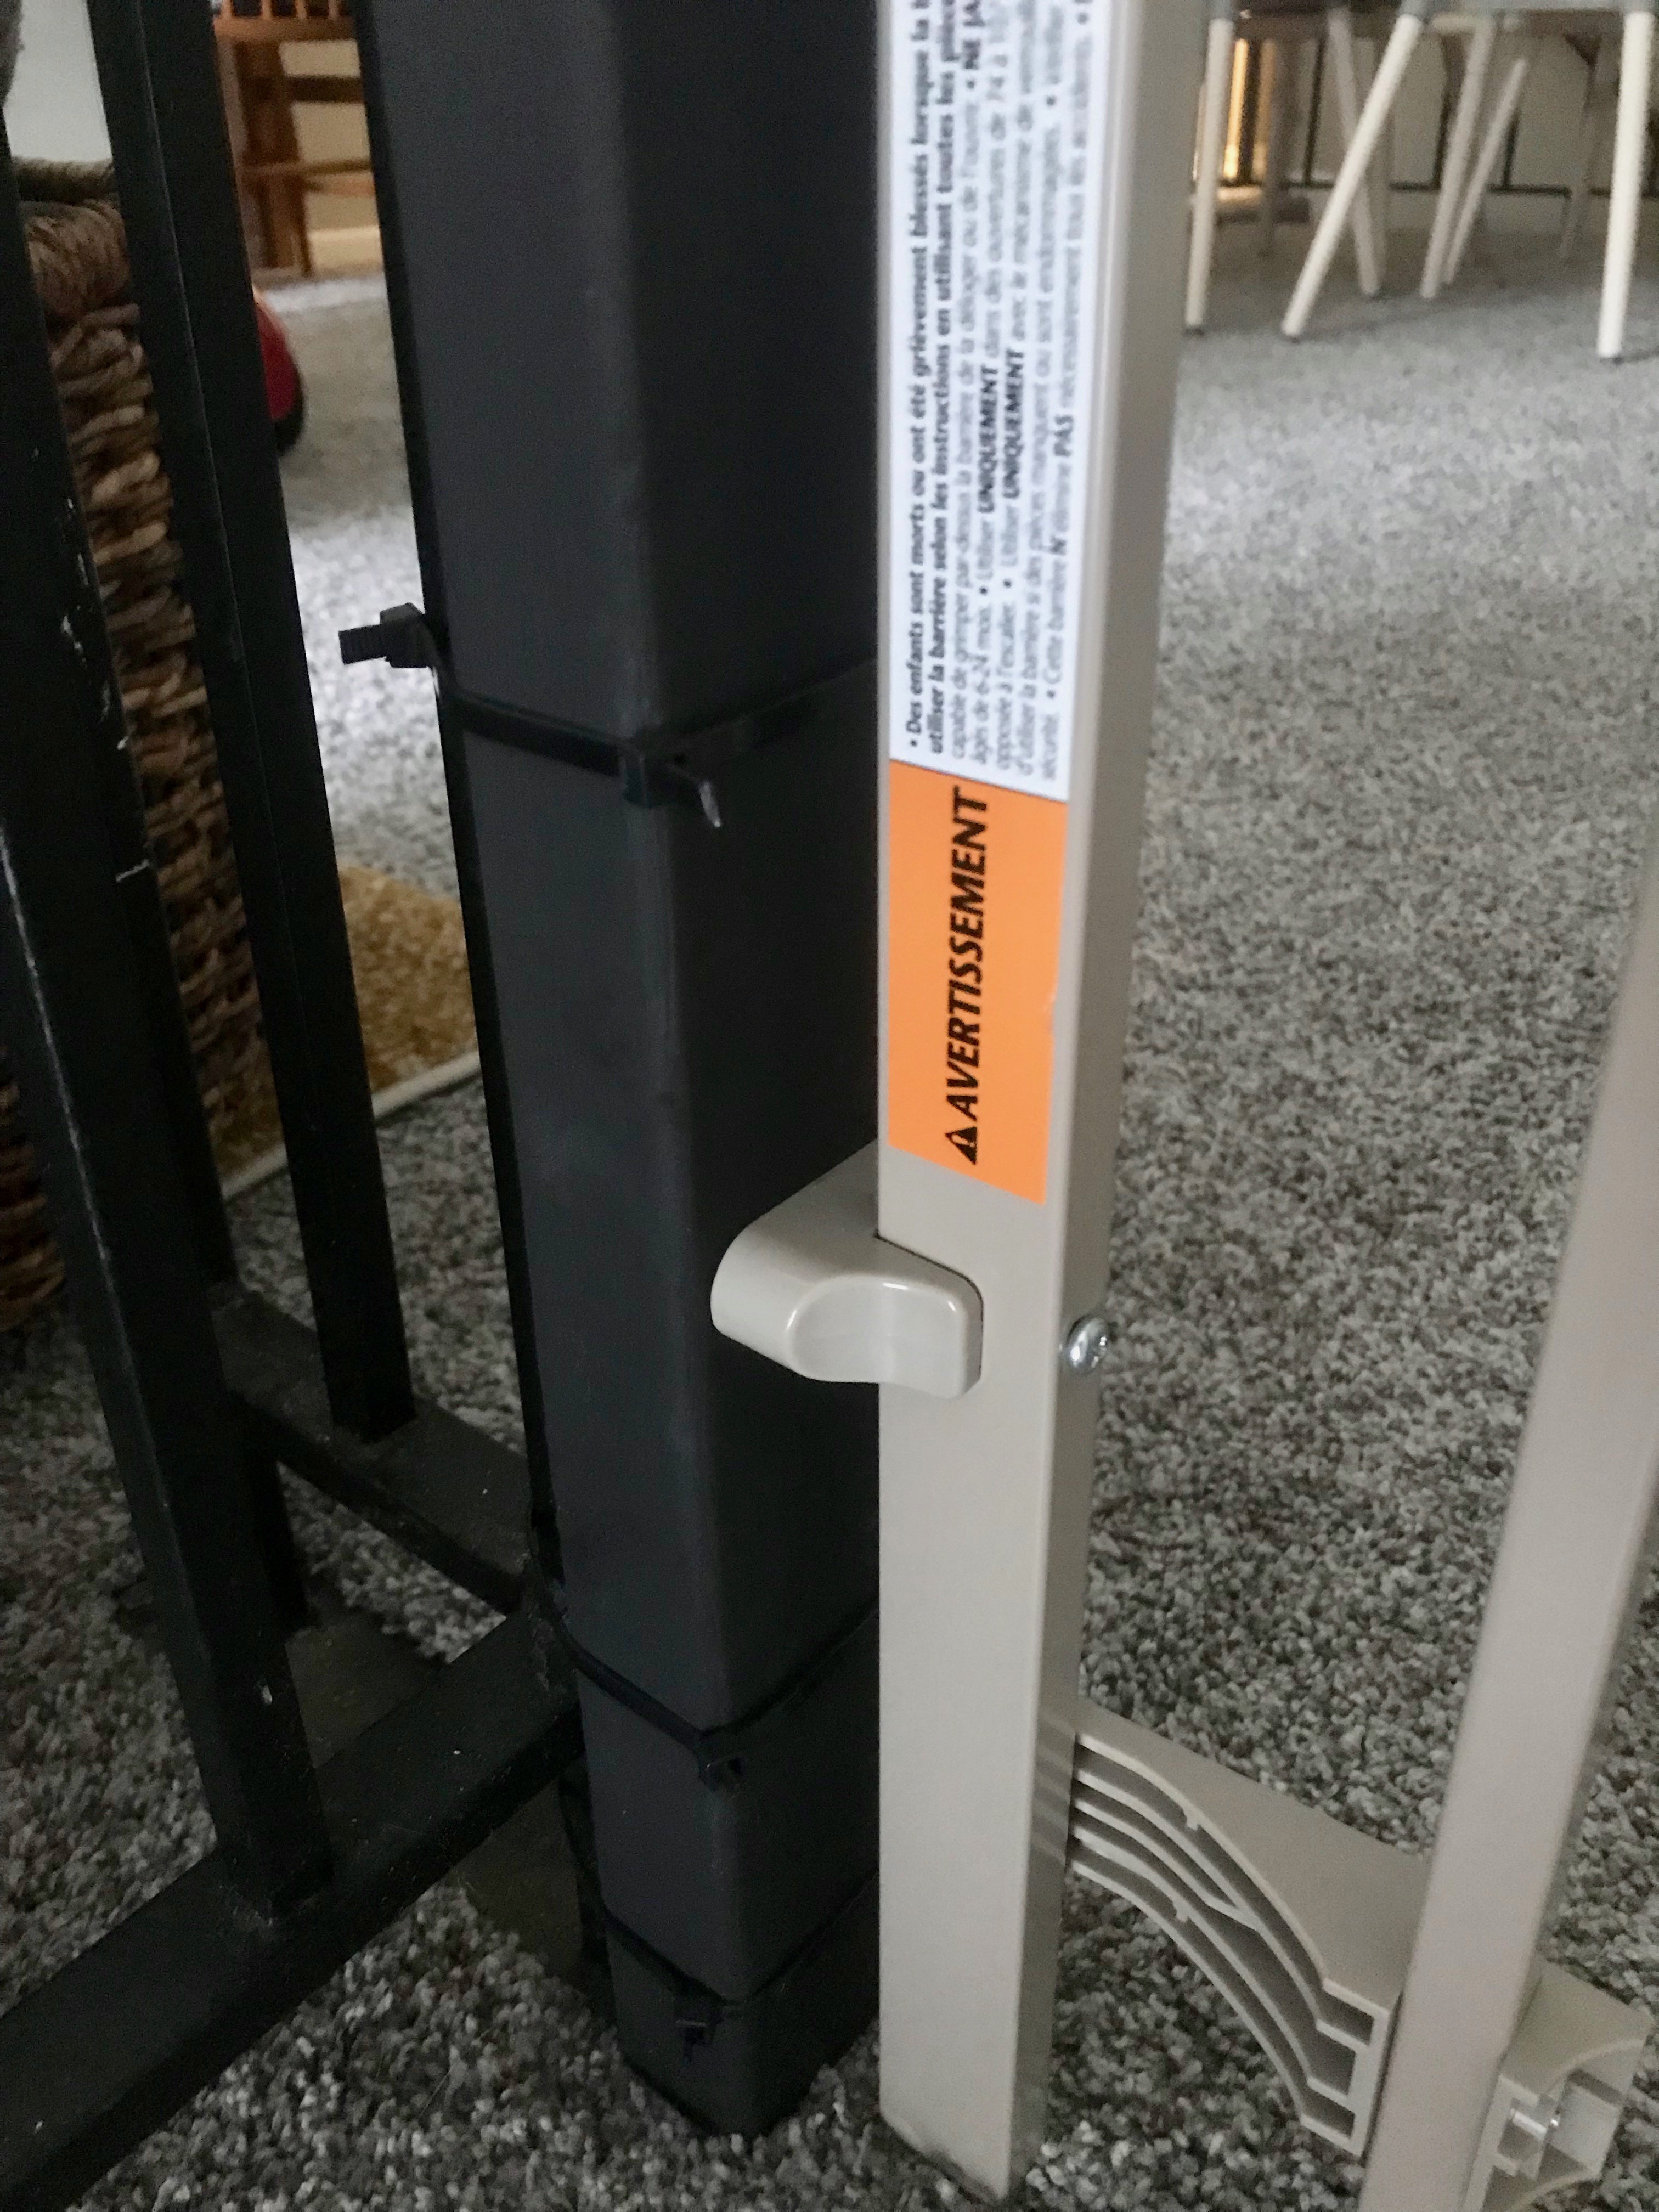
At this point, we screwed the latch side of the gate to the stud and then used zip ties to affix the stud to the railing. We used anchors on the door side of the gate for extra support.
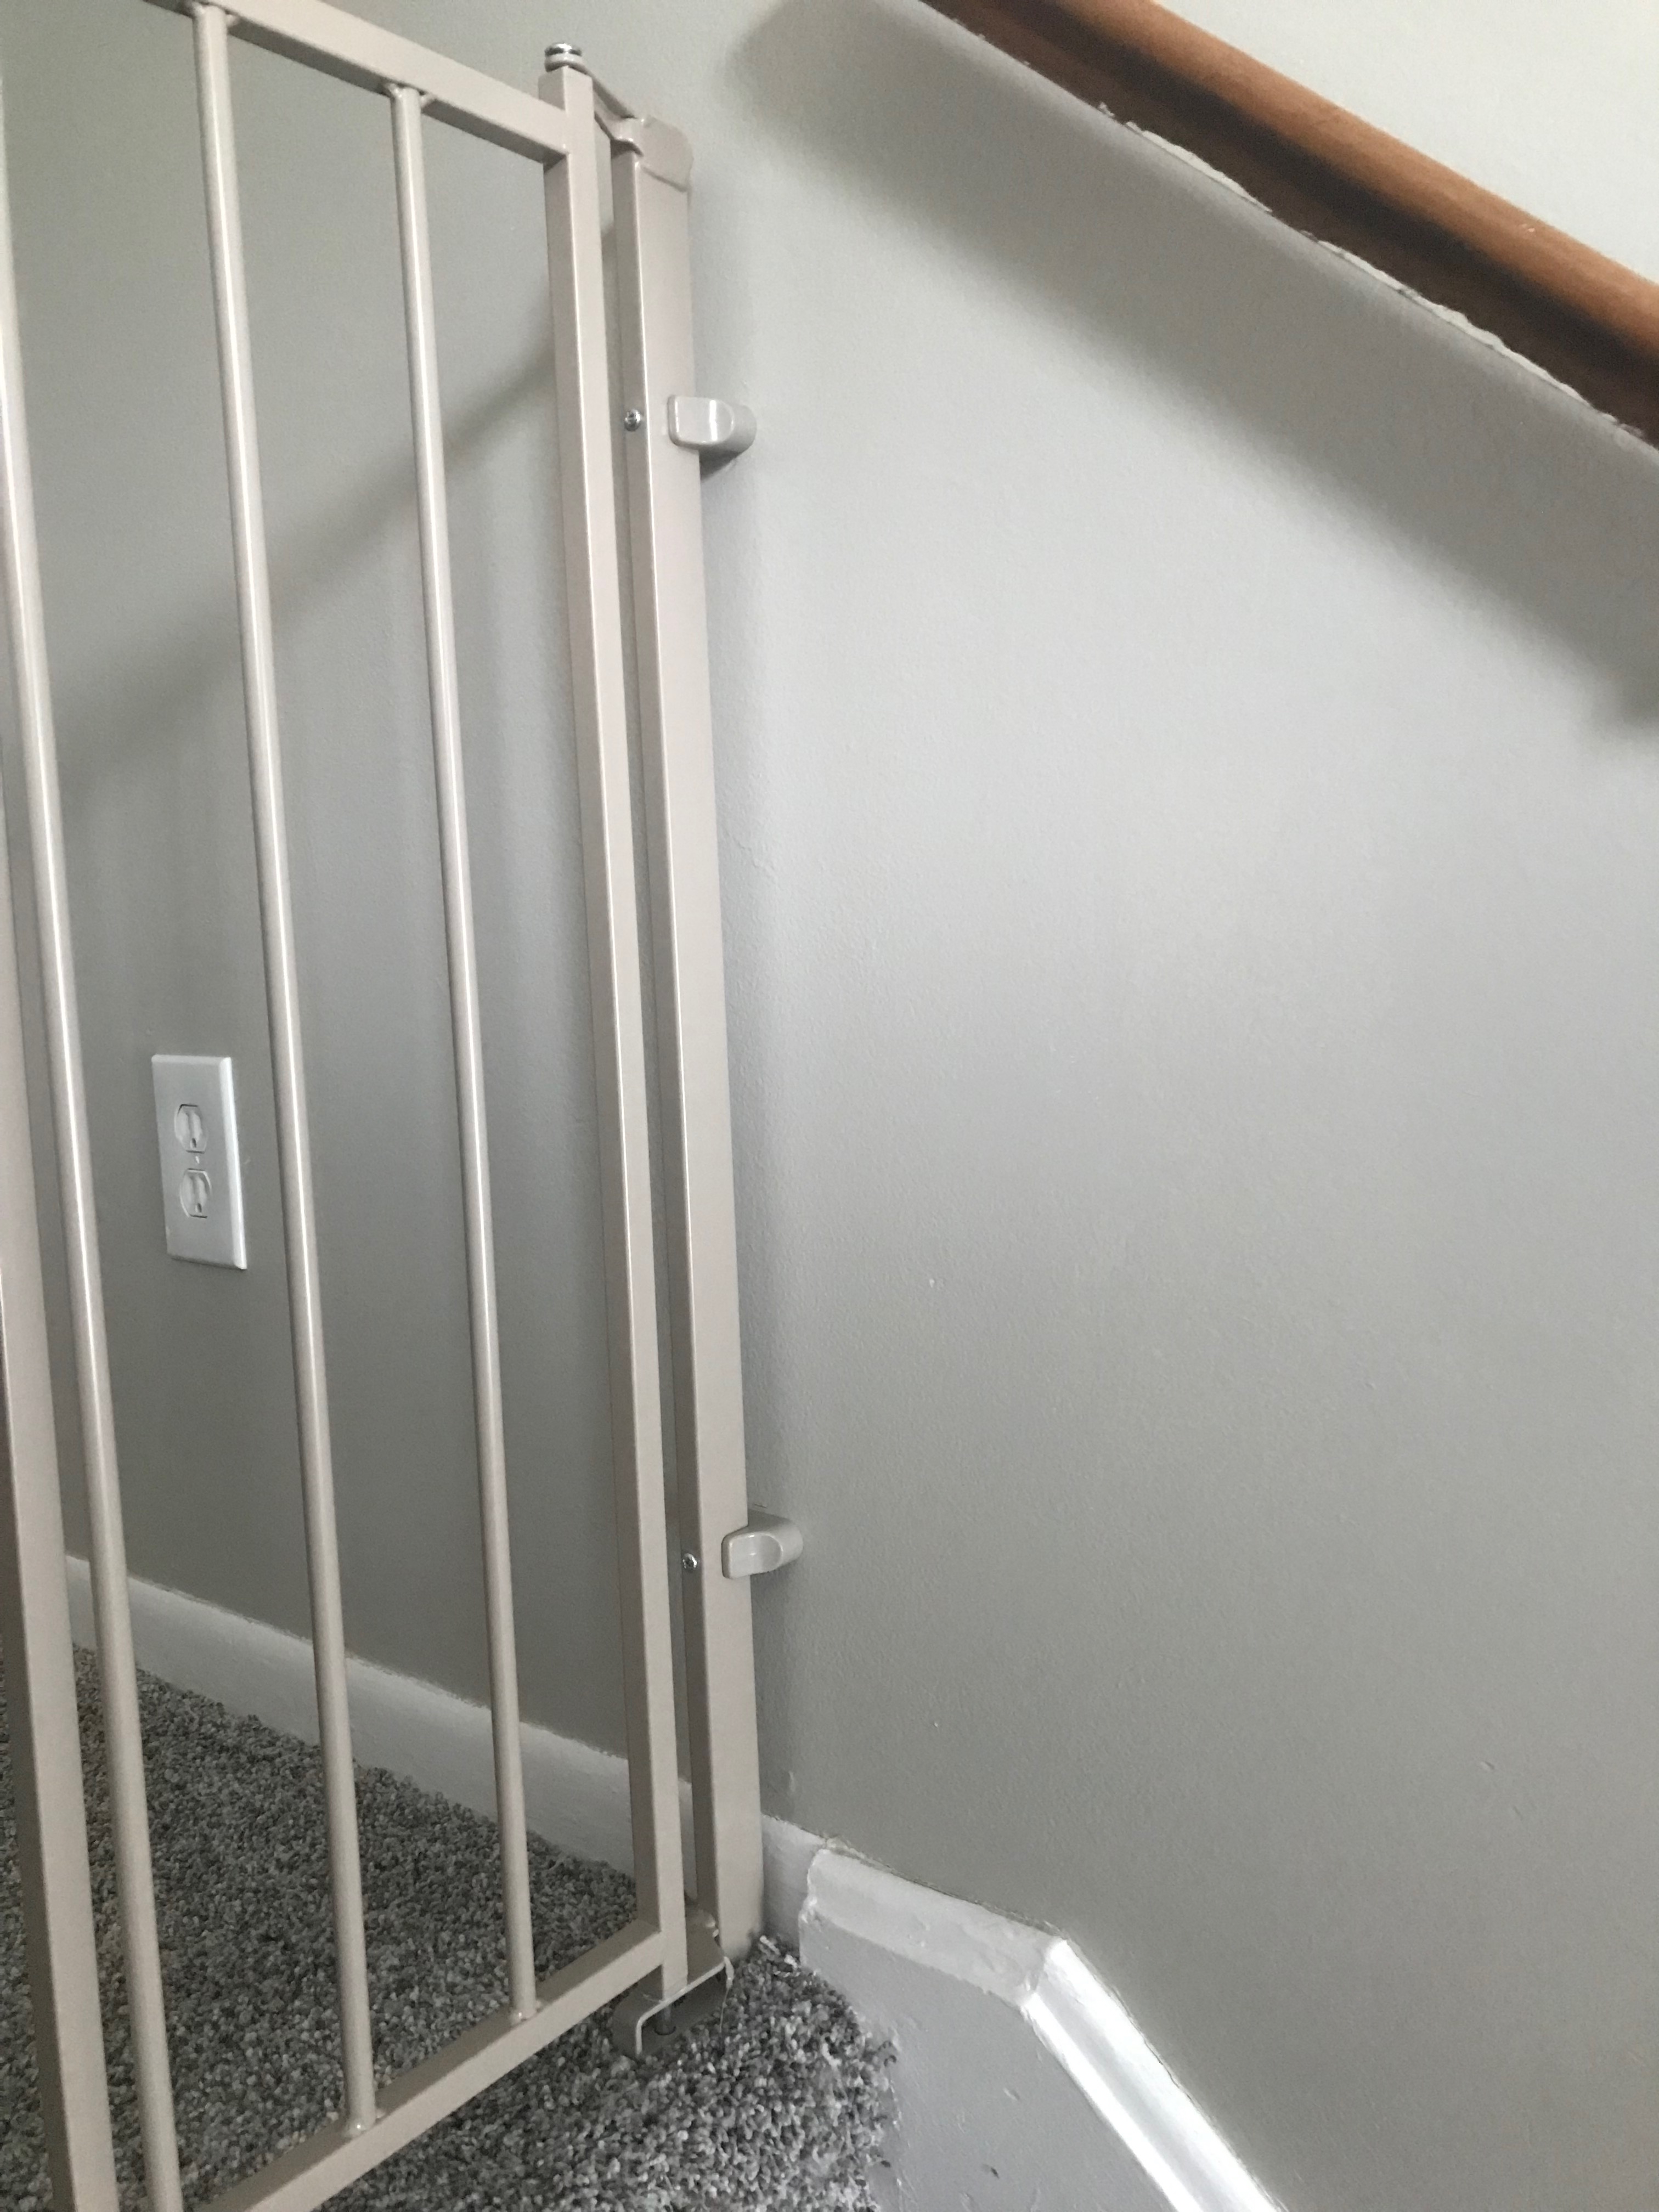
Safety is my middle name.
I had some doubts about the zip ties being strong enough to hold the gate in place, but they have not budged. Even after a month, we've had to tighten the screws for the gate, but haven't had any issues with the stud.
That was it! It ended up being so easy, and my life is so much better with baby gates installed.
You can also buy a ready-to-install piece of wood that velcroes to the railing (you can find them here). These were too tall for ours, and I could not justify spending $40 for two of them versus under $7 the DIY route cost. But it does exist if you want it!
Chris Tamez says
Thanks for explaining this tip! I've been searching for a solution for ages and this was exactly what we needed.