

A project I put off for months because it sounded hard and then ended up being seriously no big deal (which is the story of I think most DIY-ing).
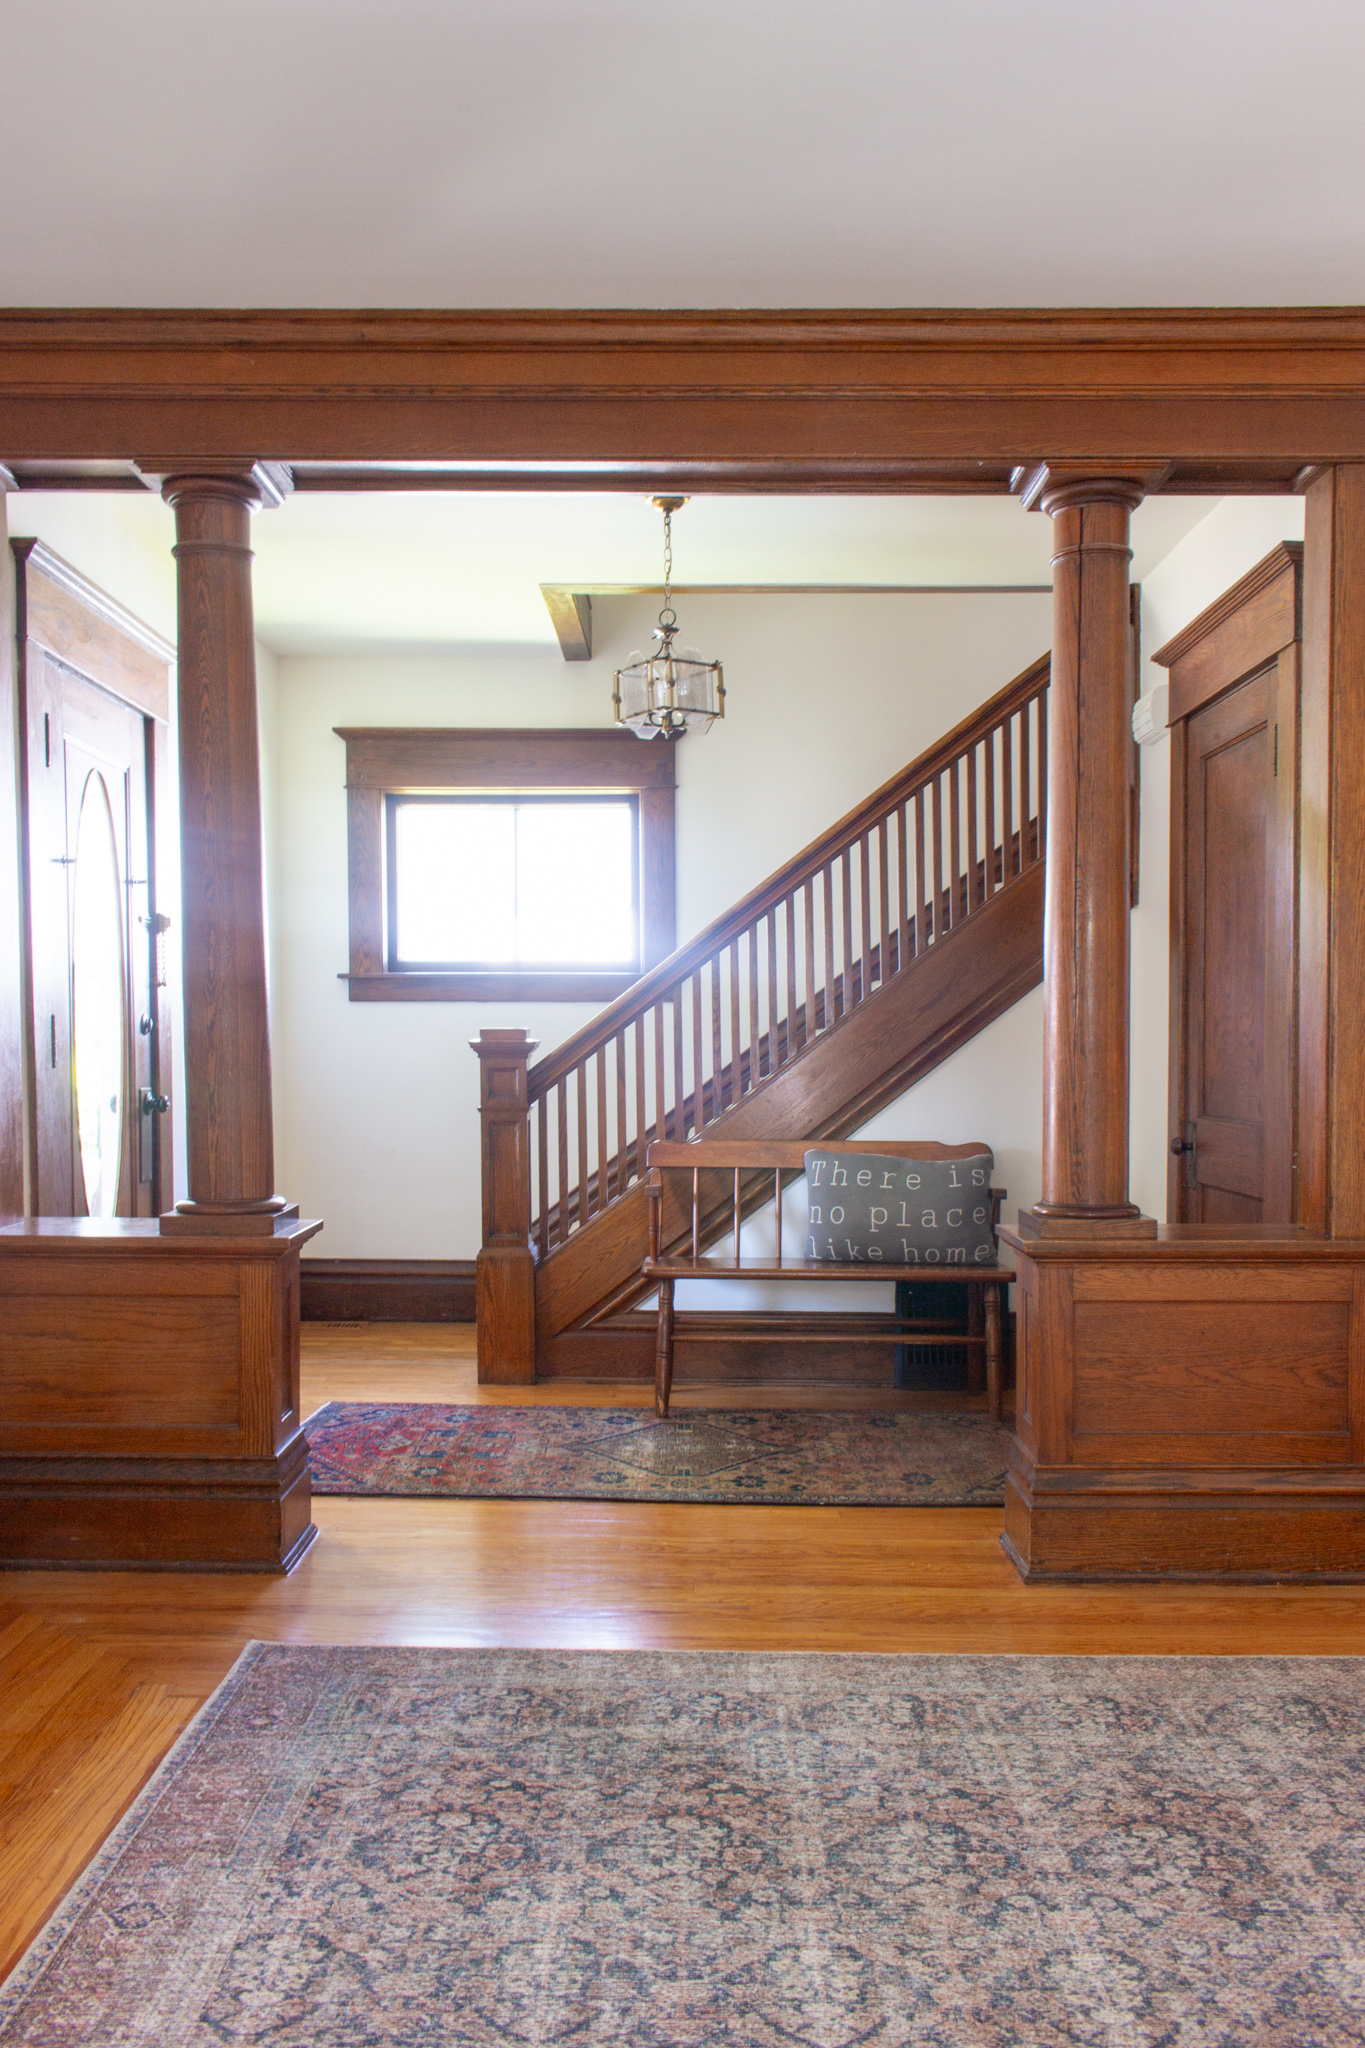
Painting our stairwell seemed like a daunting task because it is tall and I am not. Also, I wanted to avoid using ladders or any type of scaffolding just because it felt like a lot of specialty equipment for a (hopefully!) one-time task.
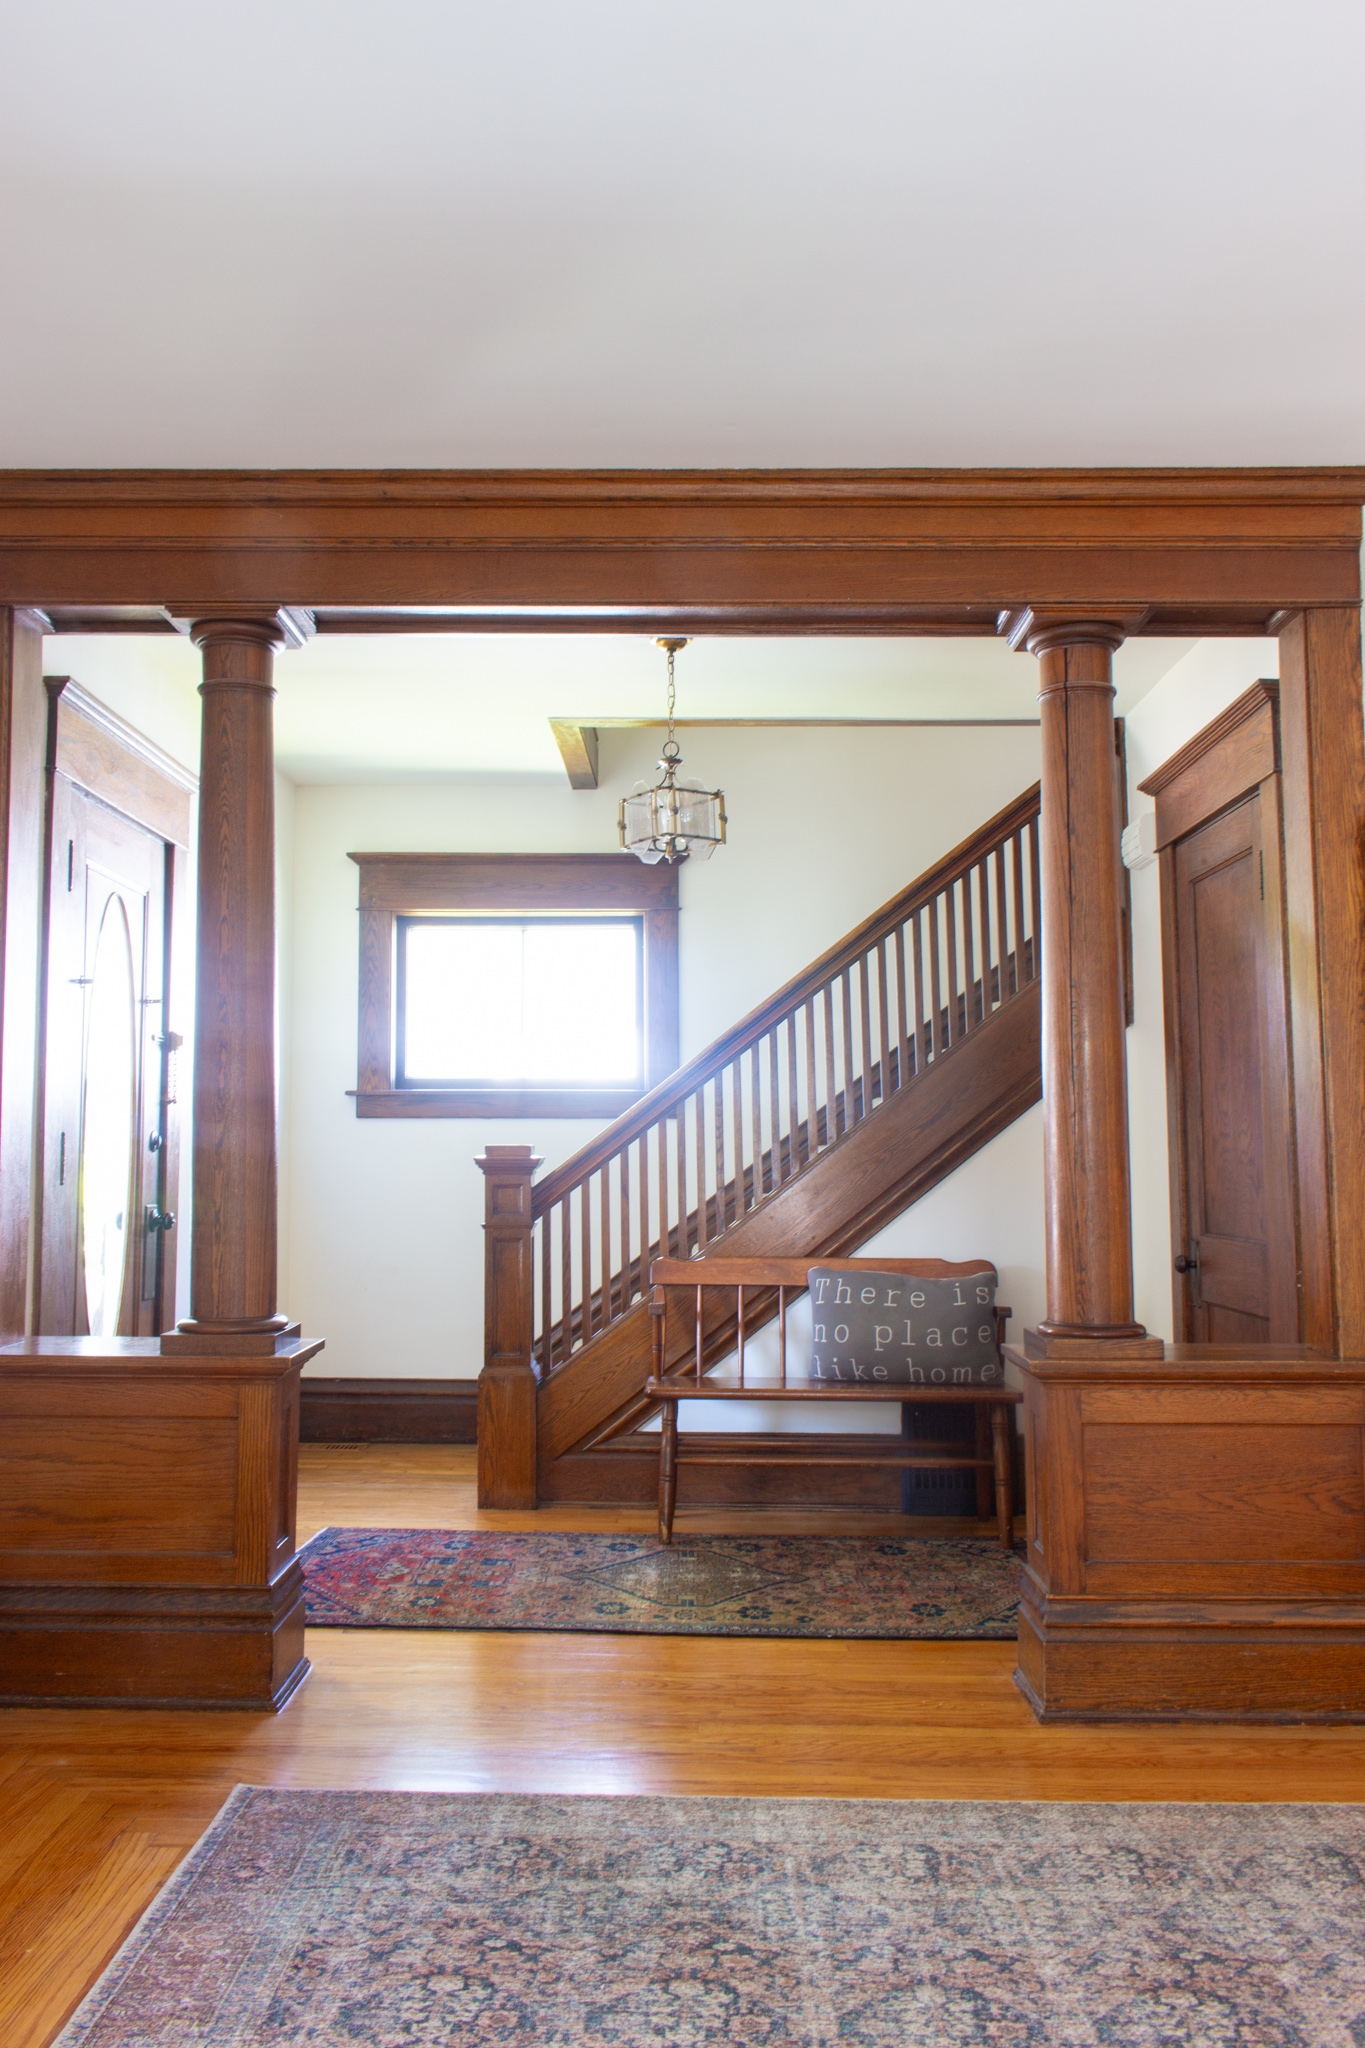
You'll notice this was a pretty non-dramatic color change, which I think was one key to my success. Going from a creamy almond to a creamy white (you can read about paint color selection for the first floor here) had friends who came over mid-process wondering if I really had painted at all. Even I sometimes stared at the painted vs unpainted wall, questioning if they were different.
But! A fresh coat of paint (or two) makes everything seem newer and cleaner. And while this wasn't totally a color-motivated change, going from probably 20-year-old wall paint to brand new just feels good.
Supplies
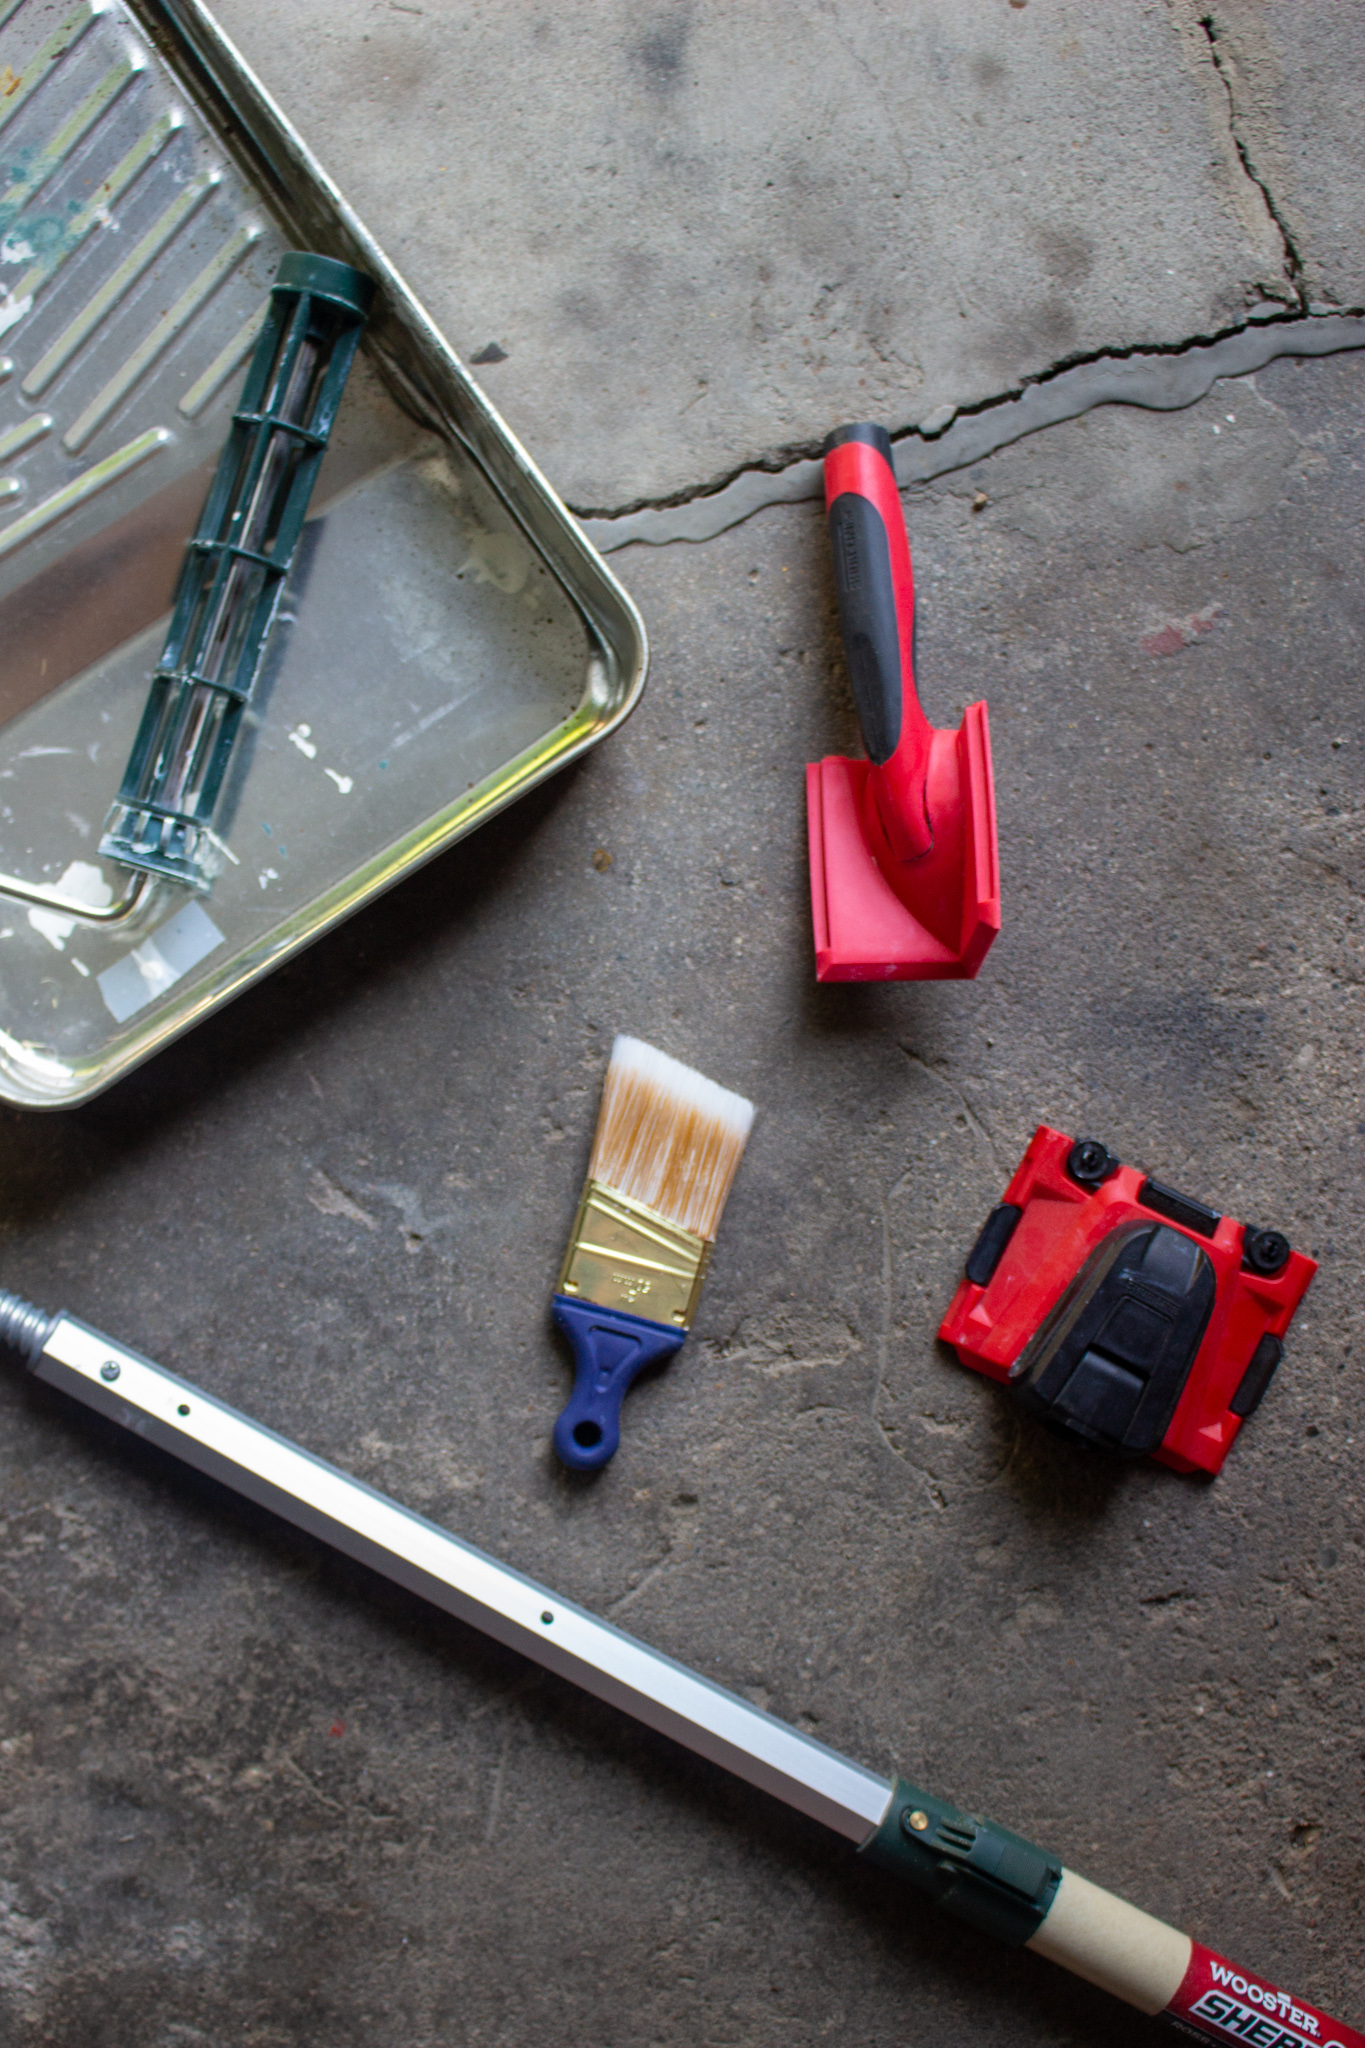
Here's what I used for painting our stairwell without having to climb up ladders or set up scaffolding:
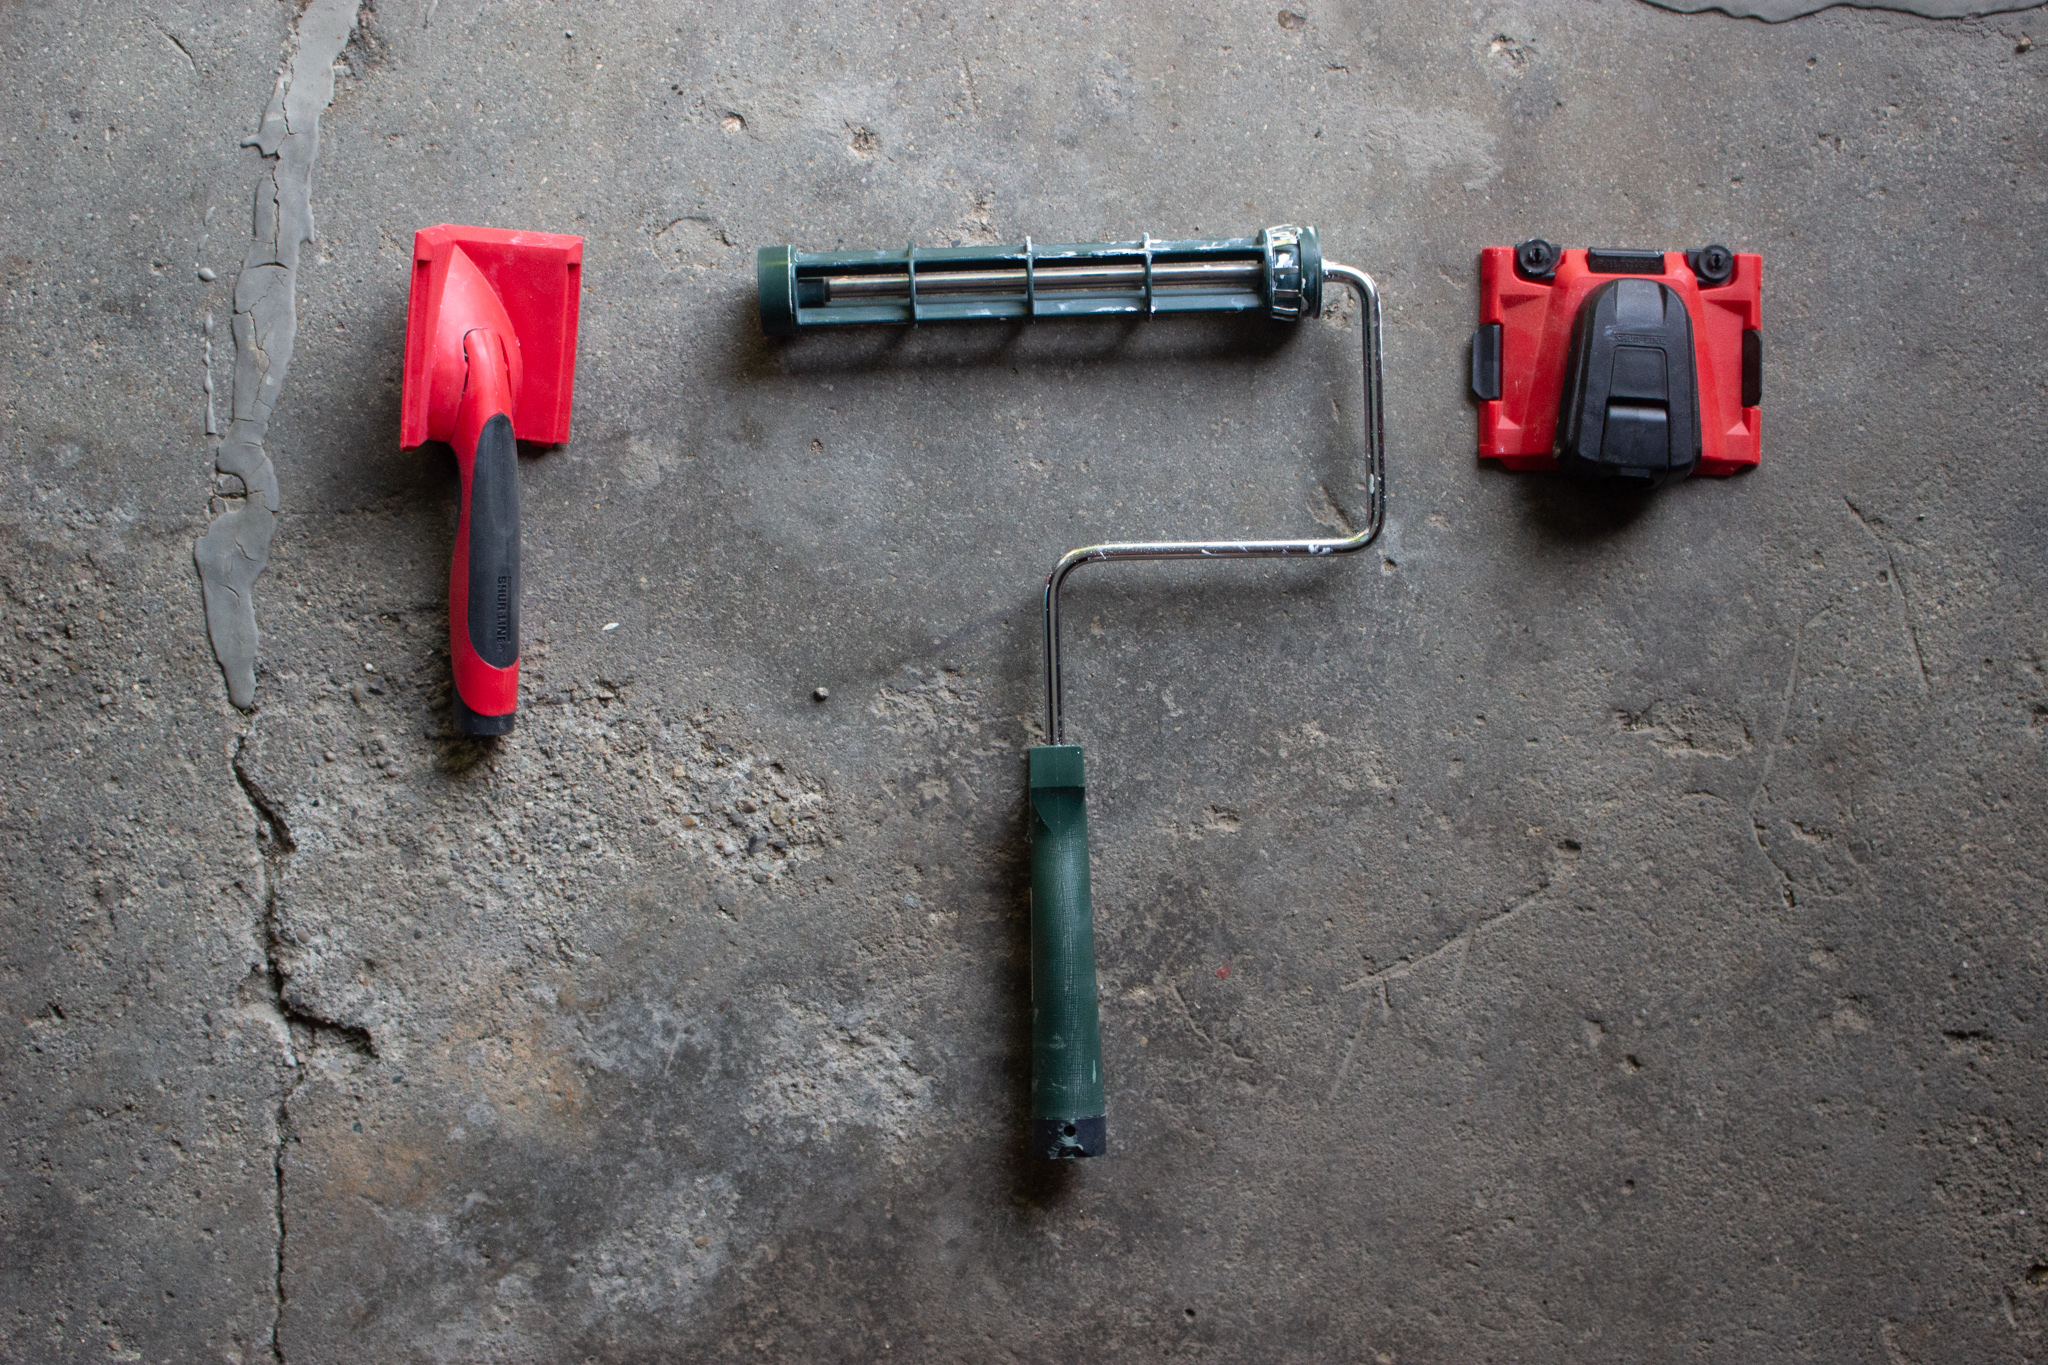
- Roller - This is the one I always use, with these refills, paint tray, and liners.
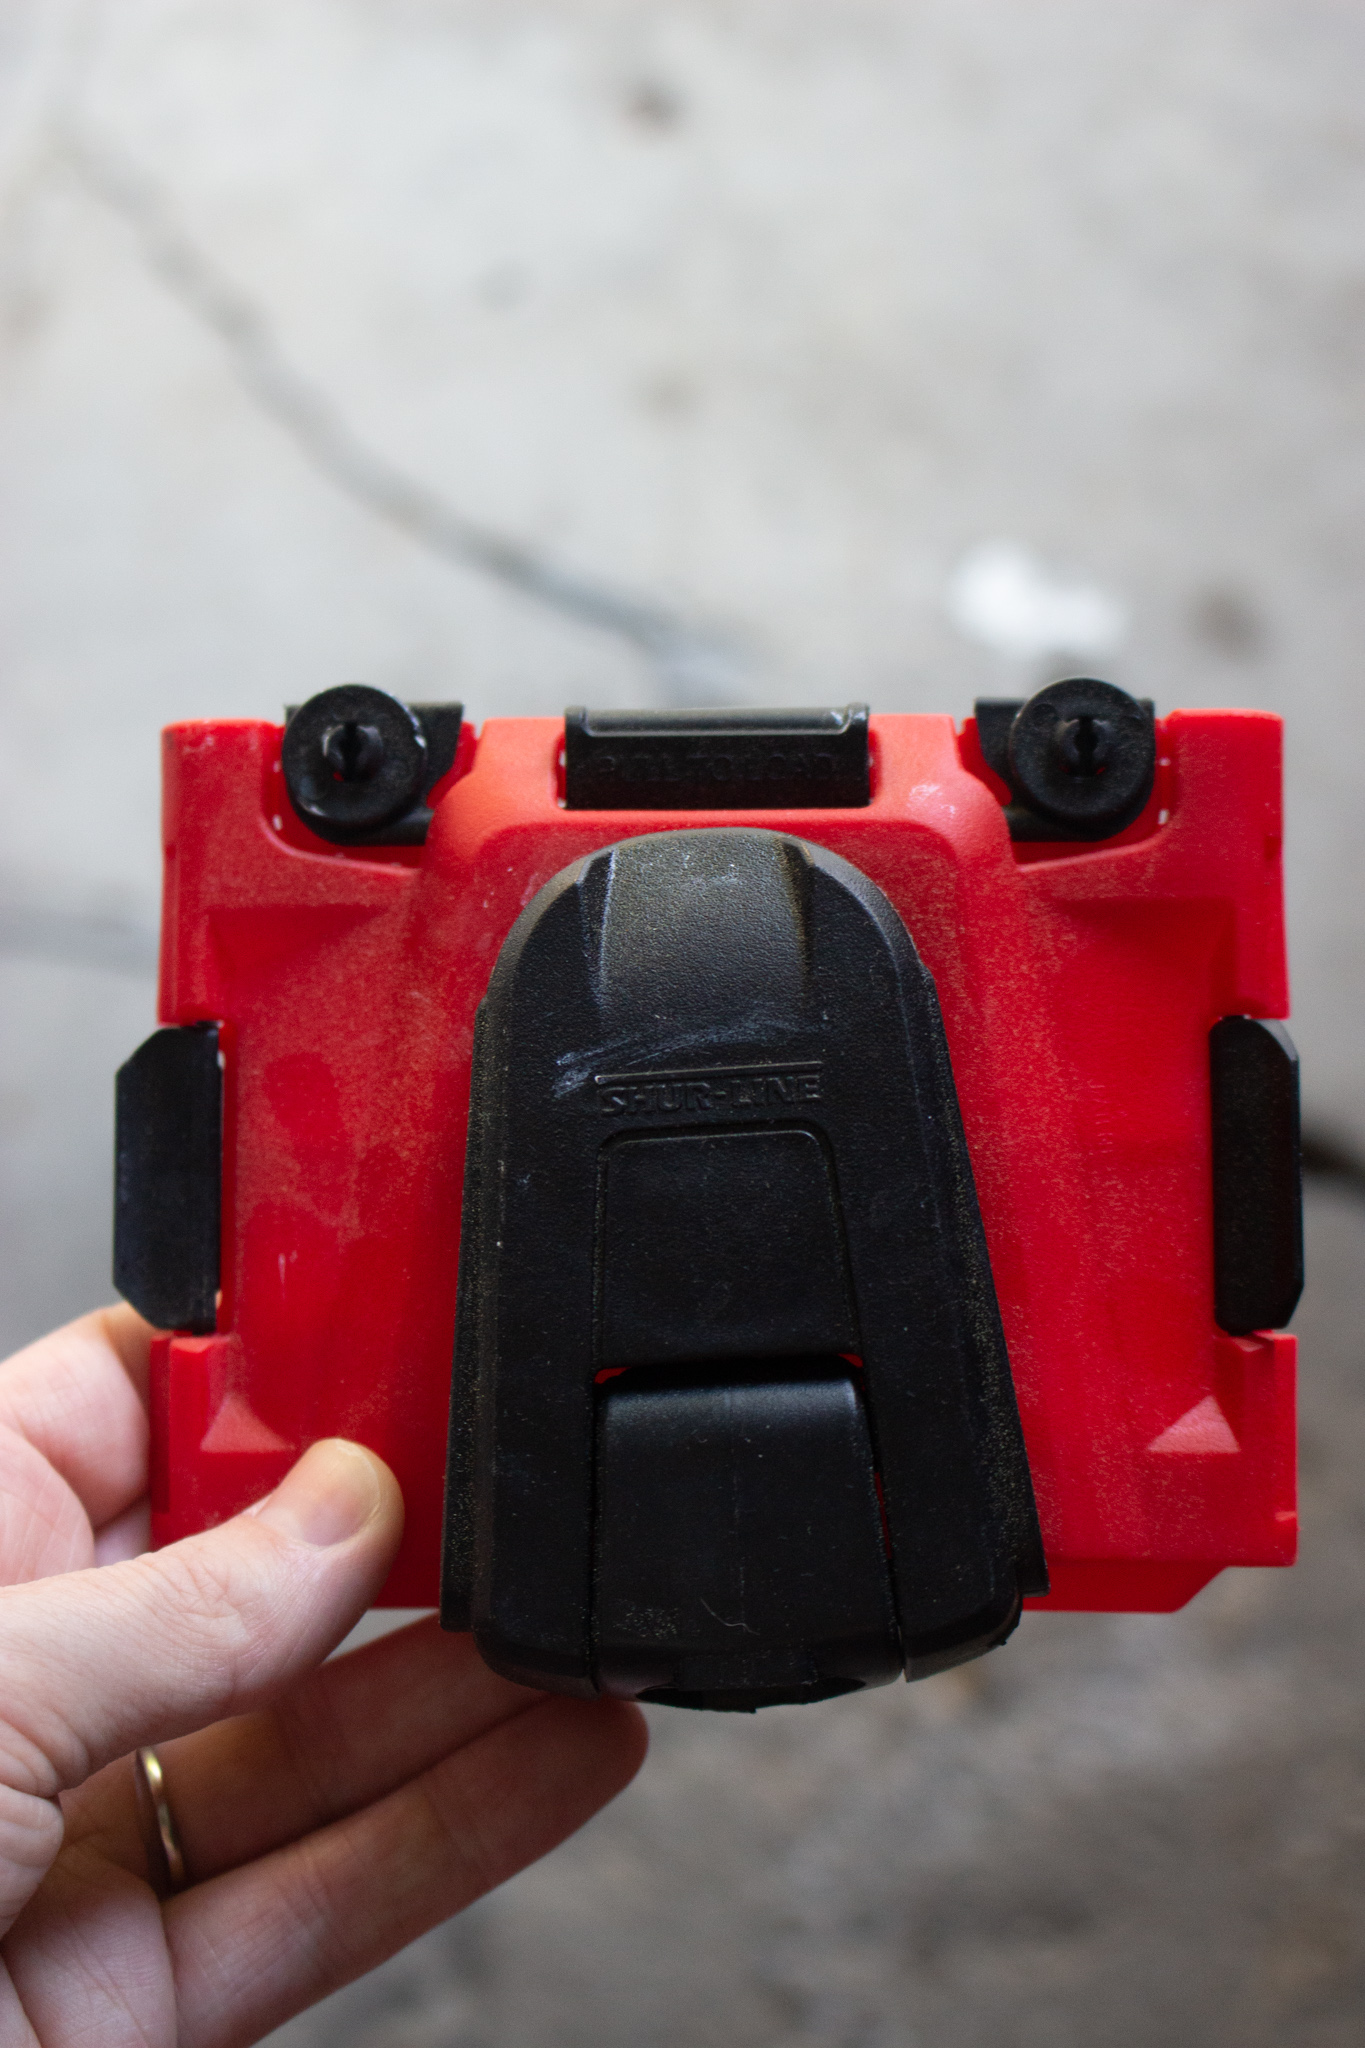
- Shur Line edger and corner painter - Specialty products that are a must for this project. They'll let you paint your up-high corners and edges cleanly and easily. (There is a learning curve to using these, so be sure to read below for tips.)
- Extension pole - It works with the Shur Line products and the roller, and gets you an extra 8 feet. I use it even in regular rooms to roll all my upper walls now because it is so much easier than climbing up and down ladders!
- Everyone's favorite brush - I used it here for edging areas that I didn't need the extension pole to reach, and for loading the edger and corner painter.
Directions
Start with edging the ceiling. Sometimes it's fun to start with rolling for the instant gratification of seeing lots of paint on the walls, but since edging is so much more work here, I'd recommend starting with it so it's done before you get to the point in the project where you get tired and sloppy. (That's not just me, right?)
Very lightly dip your edger into the paint in your paint tray, wiping off any excess on the edge of the tray. You want it to be loaded with enough paint to apply evenly, but not so much that it bleeds onto the ceiling. Do a couple of practice rounds on part of the wall you can easily reach.
Affix the edger to the extension pole and work around the upper perimeter of the stairwell, reloading the edger with paint as needed, until all the upper edges have been painted.
Paint the corners. Load the corner painter with paint the same way you did the edger - lightly dip each side into your paint and wipe off the excess. Affix to your extension pole and paint the corners of the stairwell.
I found the edger and corner painter took more time to use than a paintbrush, so I only used them until I could safely reach what needed to be painted. If you prefer the corner painter, use it to paint all the way down your corners.
Cut in the trim and baseboard. Again, I preferred to use my paint brush for the areas I could reach, but the edger would work here as well! Just hold it in your hand for areas you don't need the extension pole for.
Roll the walls. Here is the fast and really satisfying part! Paint the area between the edged ceiling, baseboard, and corners, affixing the roller to the the extension pole for areas that are too high to reach.
Do a second coat. Repeat all the steps as needed until your walls are evenly coated.
Tips
Stair safety! If your arms are moving, your legs shouldn't be. When you're ready to move onto a new area, take a break from painting to reposition.
Keep the wheels of the edger free of paint. This seems like the number one problem people have when using this type of edger - If you get any paint on them, you'll have a line of your wall color on your ceiling. Overloading the edger causes more problems than under loading, so err on the side of less paint as you're starting out. You can always add more!
Watch videos. There are lots of videos of people using the edger and corner painter. I highly recommend watching a few to get a visual of how to use them!
Use a low-contrast color. Okay, use whatever color you want! But stakes are lower when mistakes are less noticeable. If you're doing a really dramatic color change, like going from a white to a deep navy, you'll have to be extra careful when edging.
Limits + Things to Consider
Ceiling height - If your ceilings are taller than your height with arms extended + the extension pole from where you'll be standing, you won't be able to reach the highest part. Be sure to measure before buying supplies!
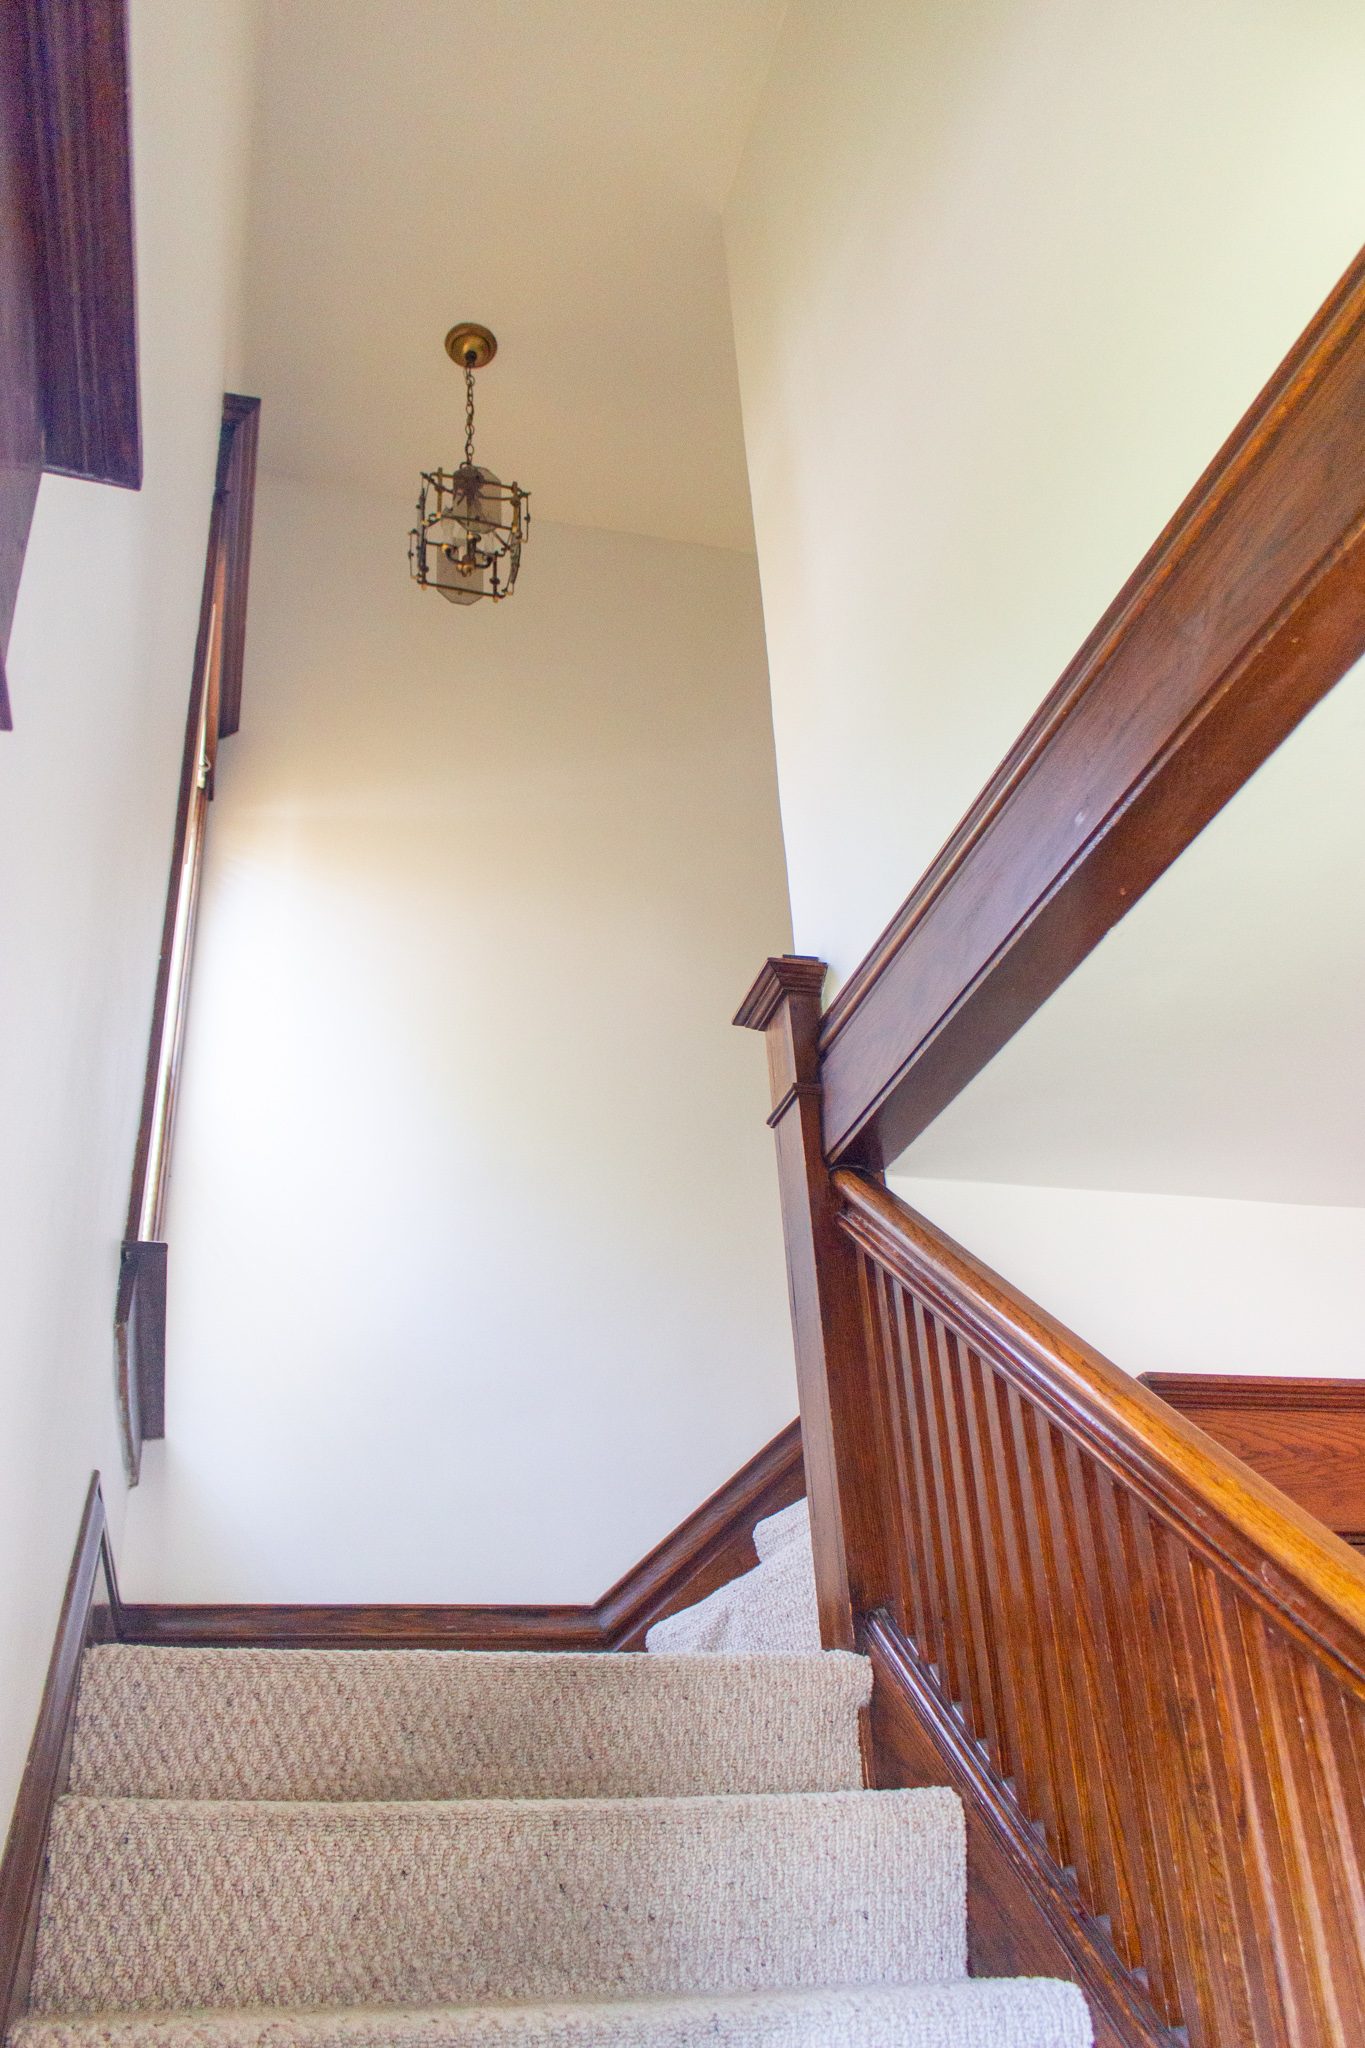
Any hard-to-reach trim - I really struggled to get the edger upside down while attached to the extension pole (like for edging the top of window trim). Thankfully, the only areas this was a problem were areas I could reach with a paintbrush. But something to keep in mind if that's not the case in your house!
This is a painting project that definitely takes extra care, but is totally doable as a DIY!
Leave a Reply